Blog
Posy bouquets
Posies are one of the most traditional floral arrangements. They have been used since at least medieval times when they were carried to disguise the unpleasant smells of the era. In particular the brides who carried them. Their popularity is timeless, no doubt due to the versatility of their use and the varied materials that can be used to create them.
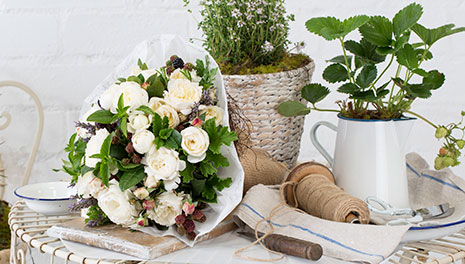
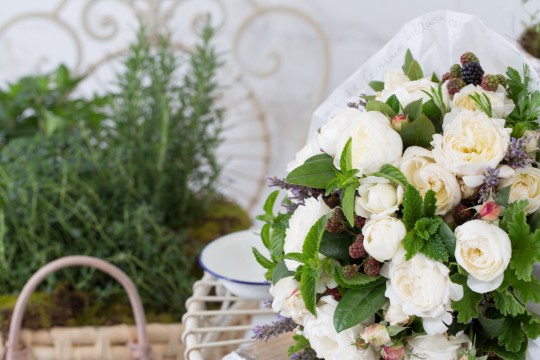
A herb and rose posy is a perfect last-minute gift or the solution to the situation you find yourself in when you spontaneously want to make something. All the resources required for this arrangement are usually found within neighbourhood homes, gardens or local stores.
Posy DIY recipe
Ingredients:
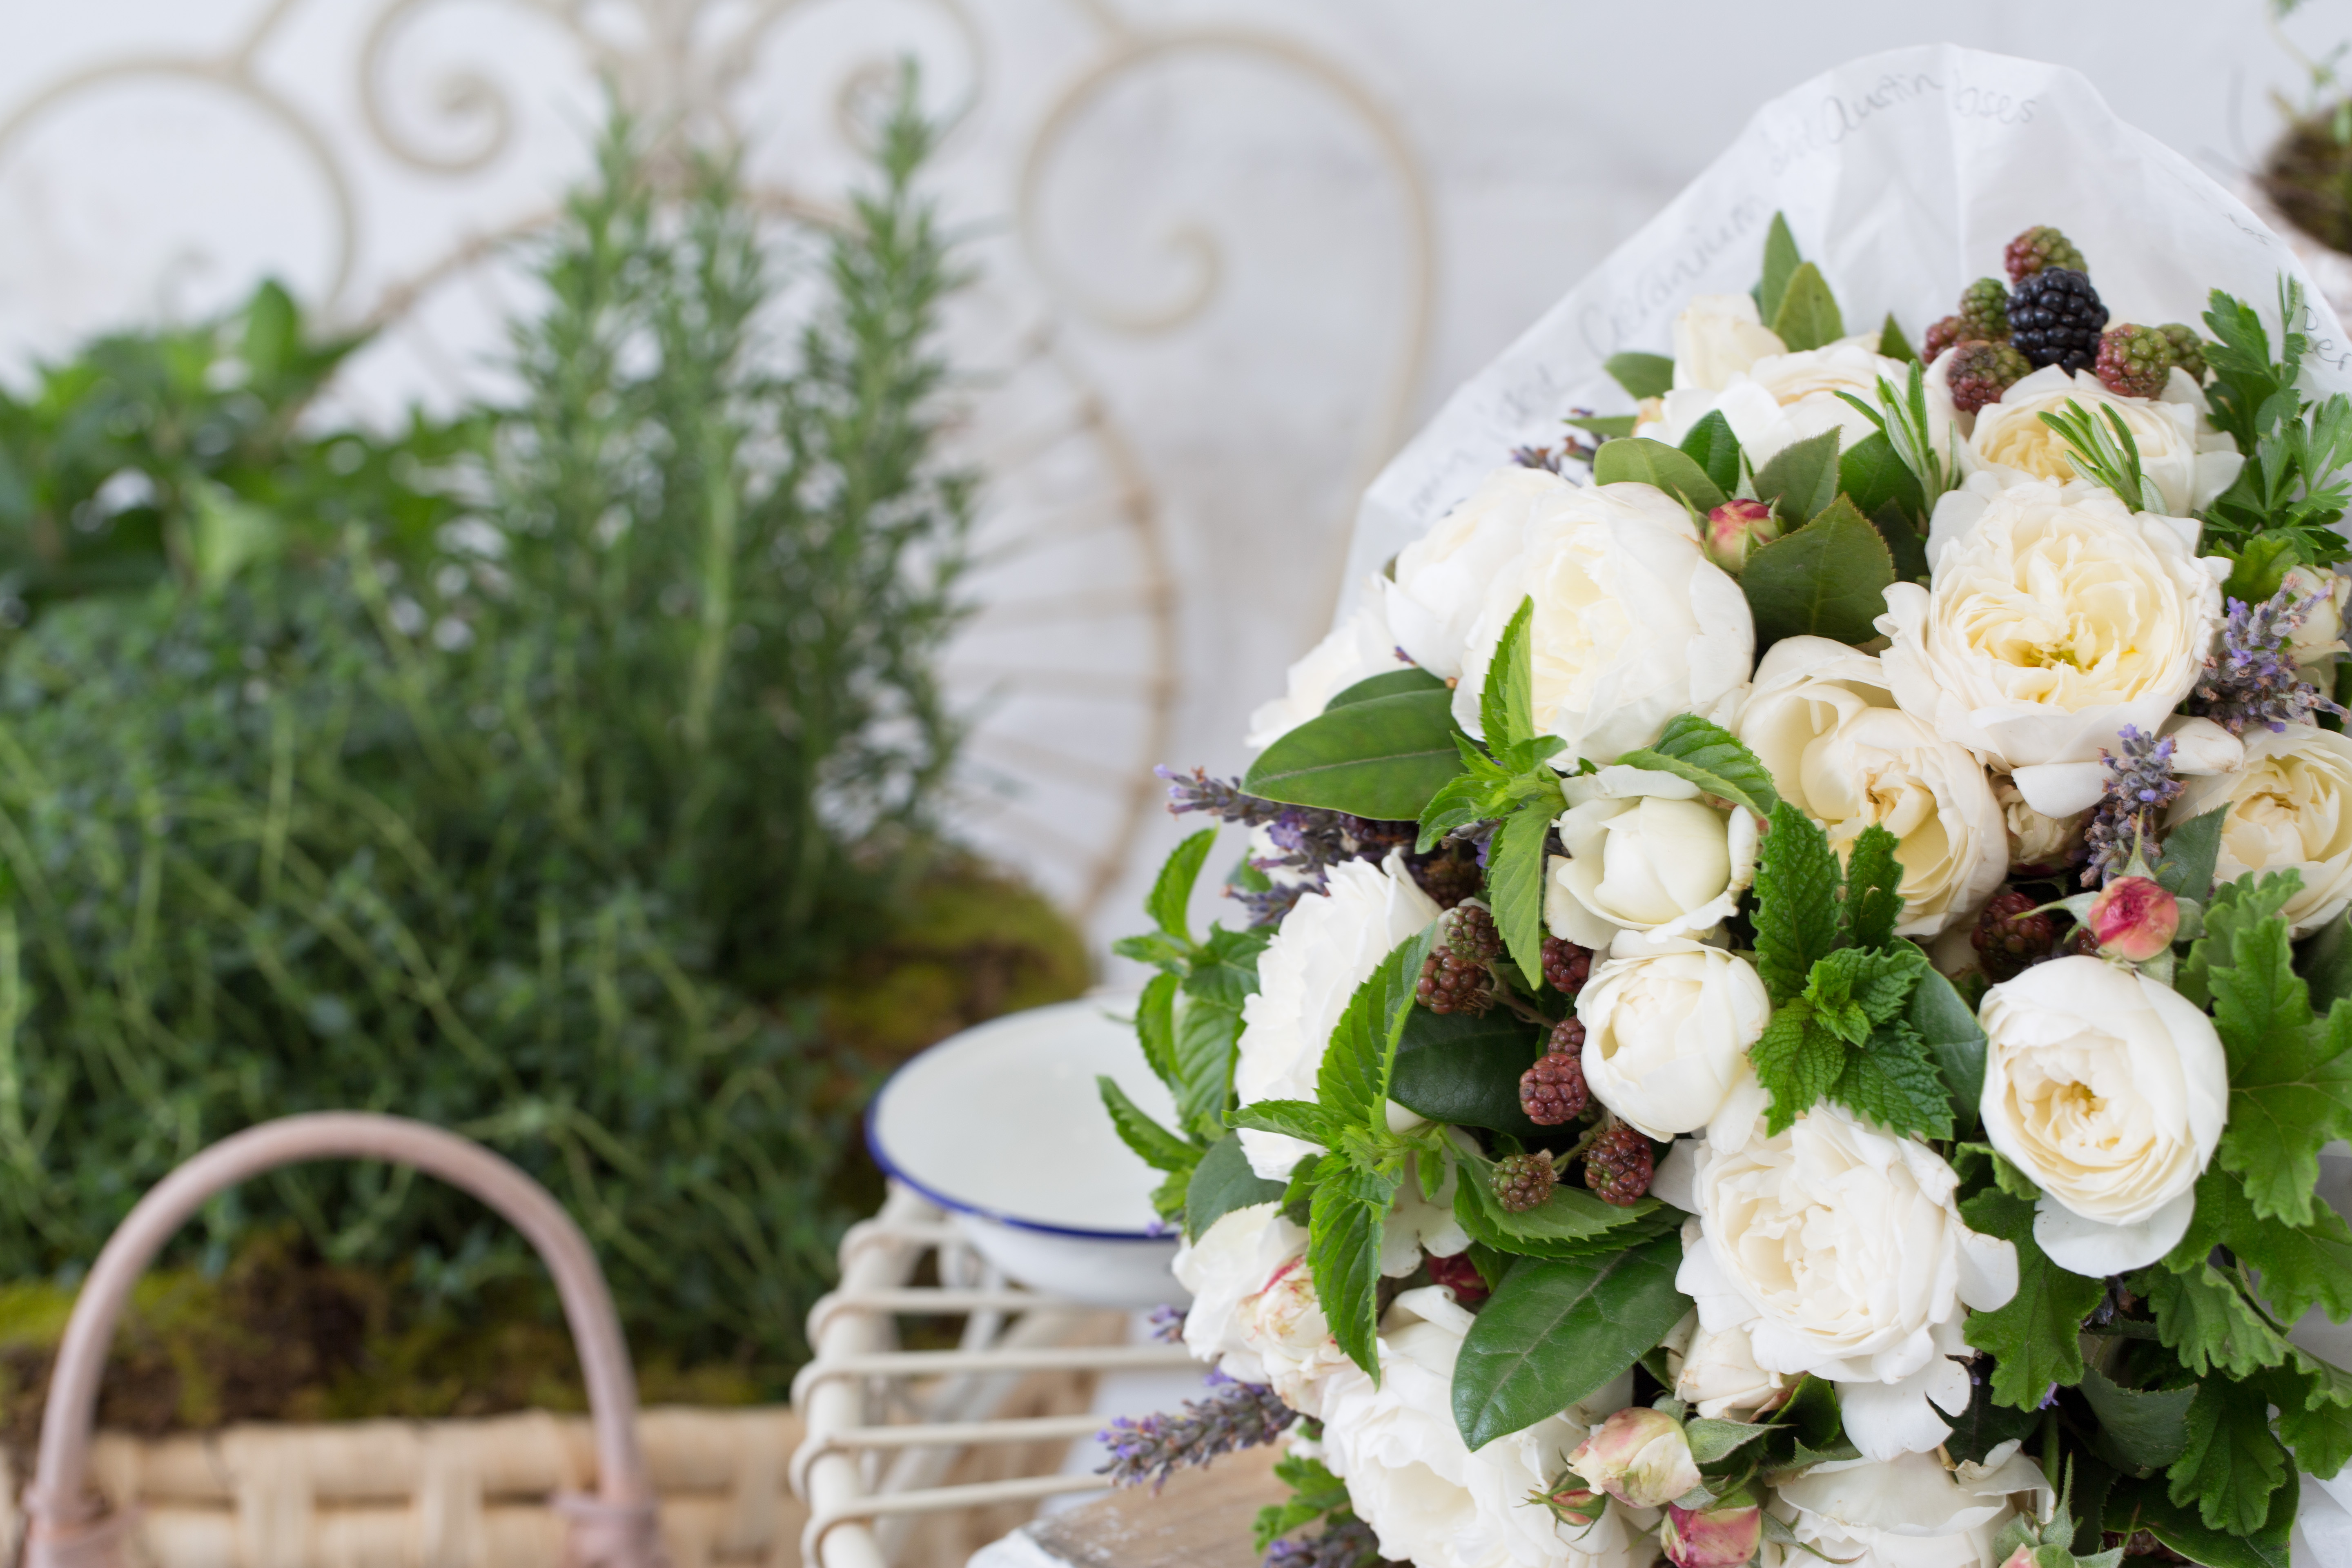
- David Austin rose – white, 10 stems
- Lavender – 1 bunch
- Lemon scented geranium – 1 bunch
- Mint – 1 bunch
- Basil – 1 bunch
- Rosemary – 1 bunch
- Berries – 1 bunch
- Parsley – 1 bunch
Tip-
Use any herbs that are in season: the more you cut your herbs the better they will grow.
Accessories:
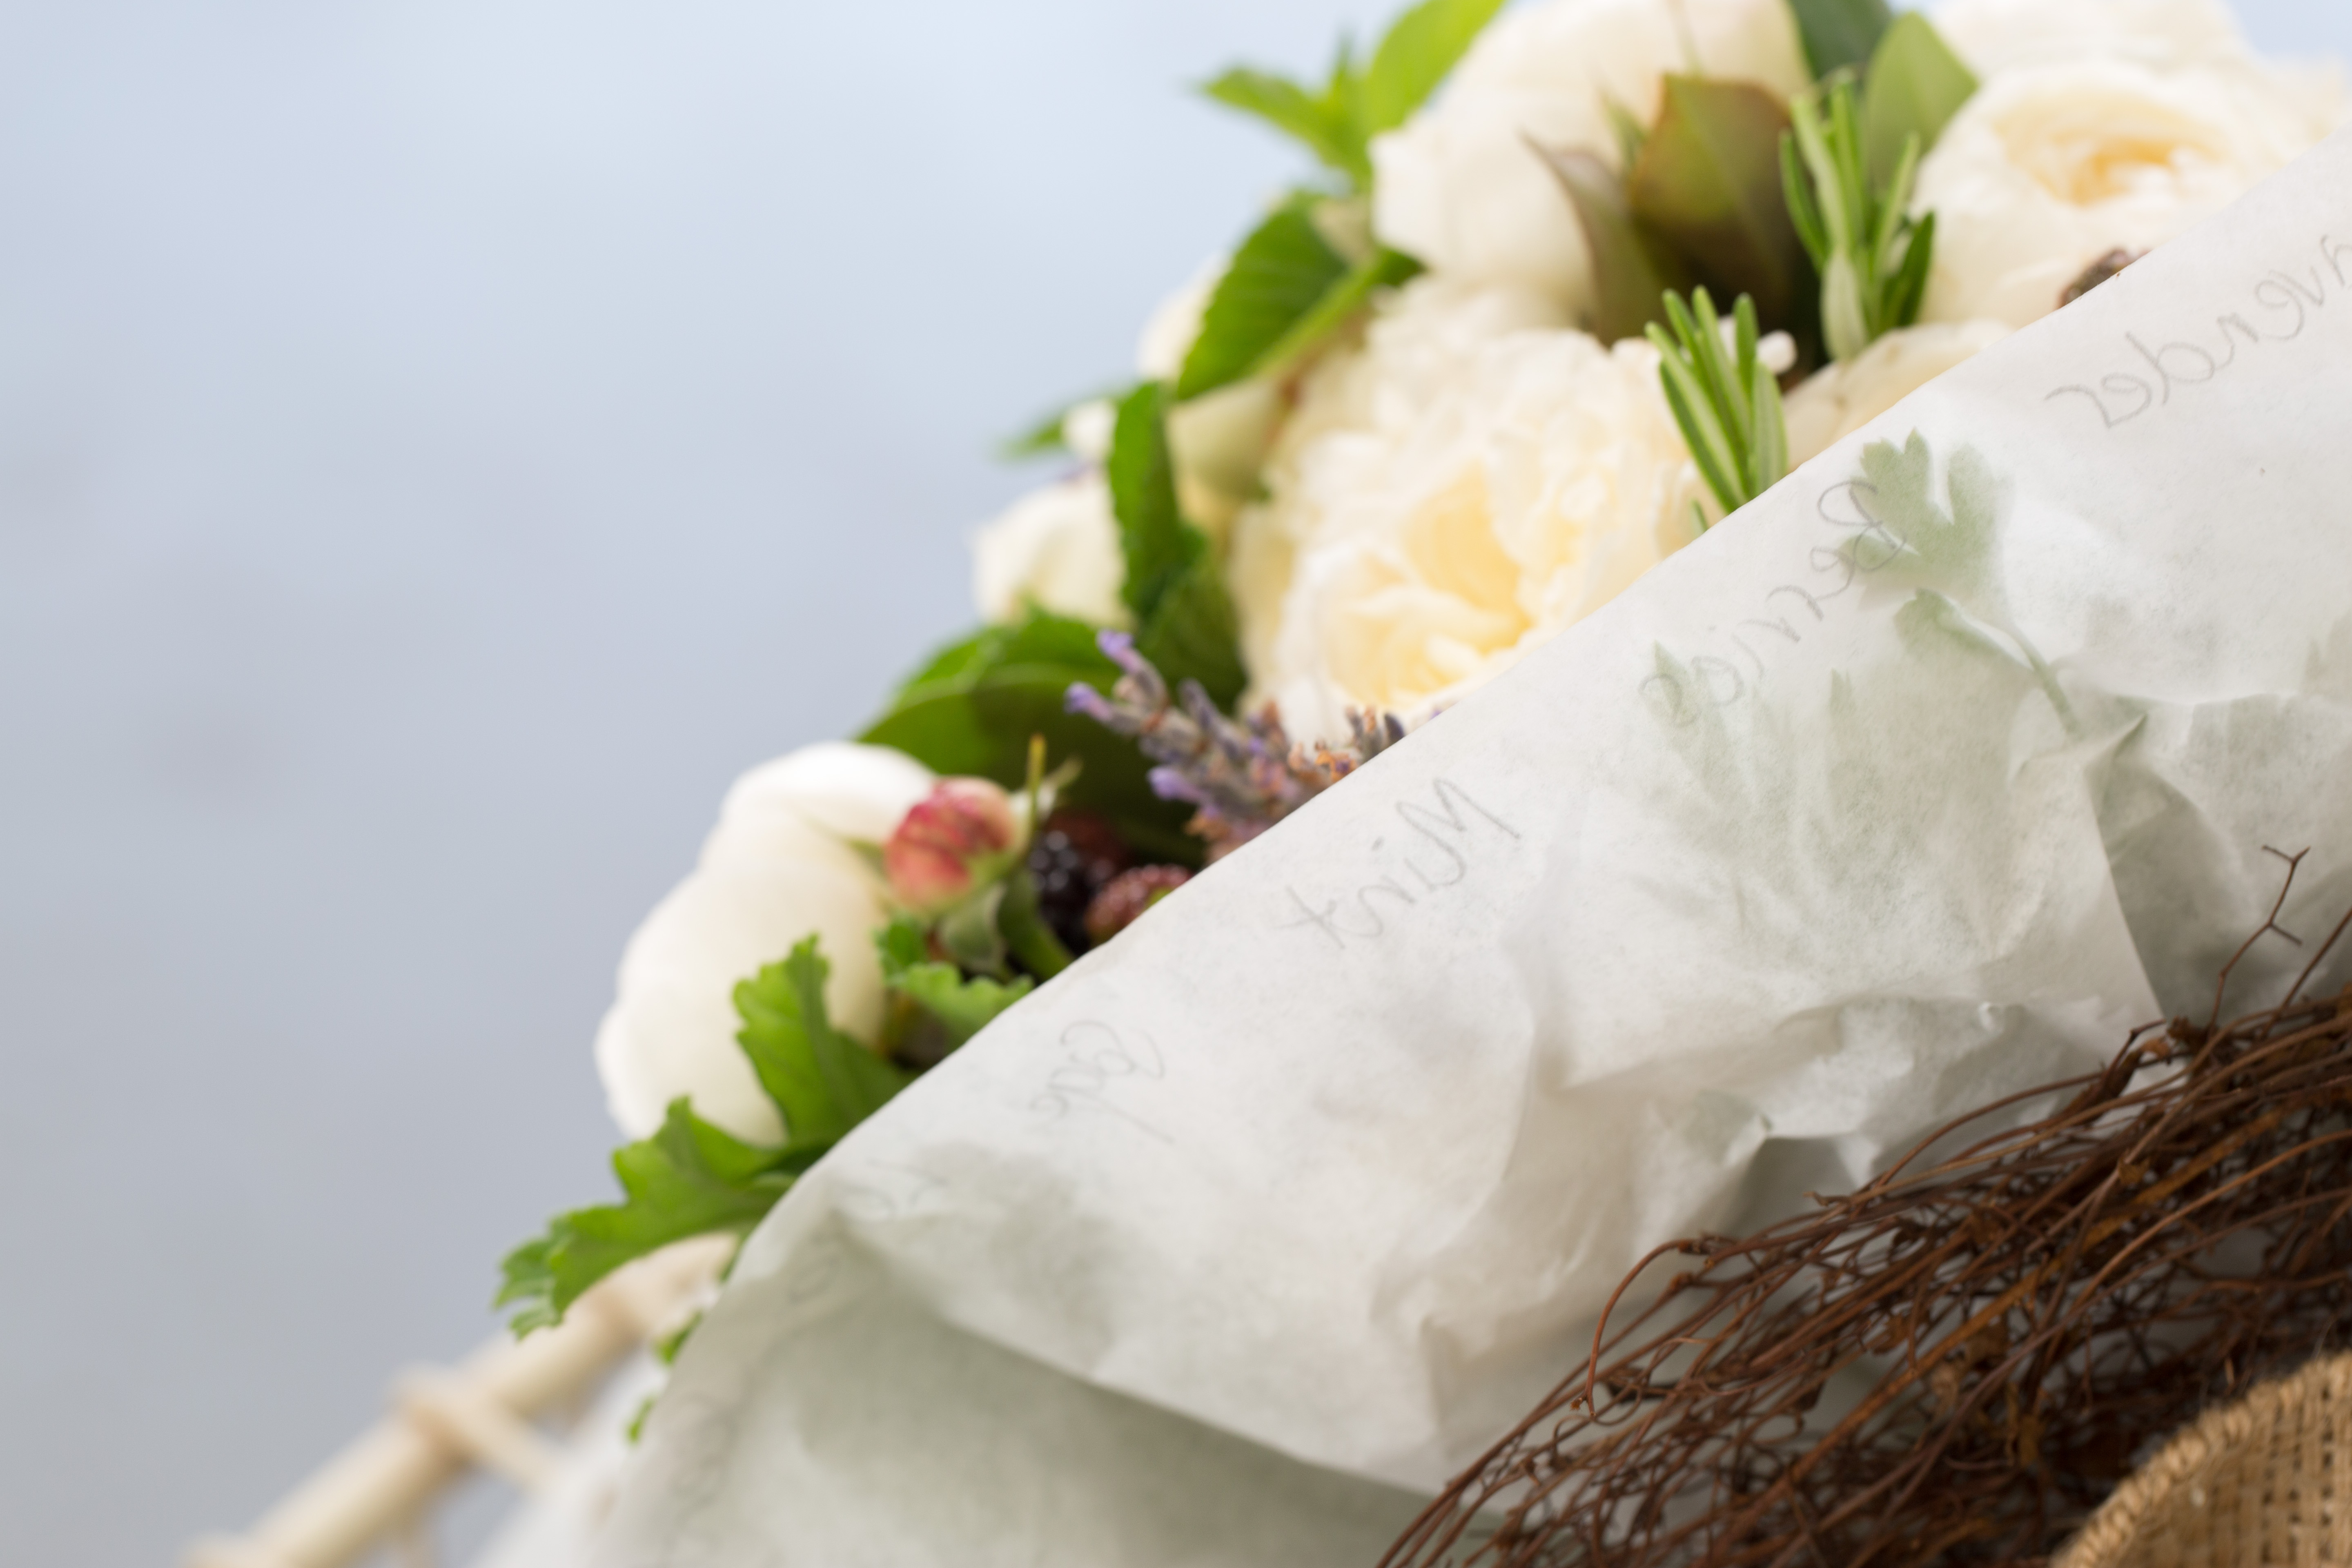
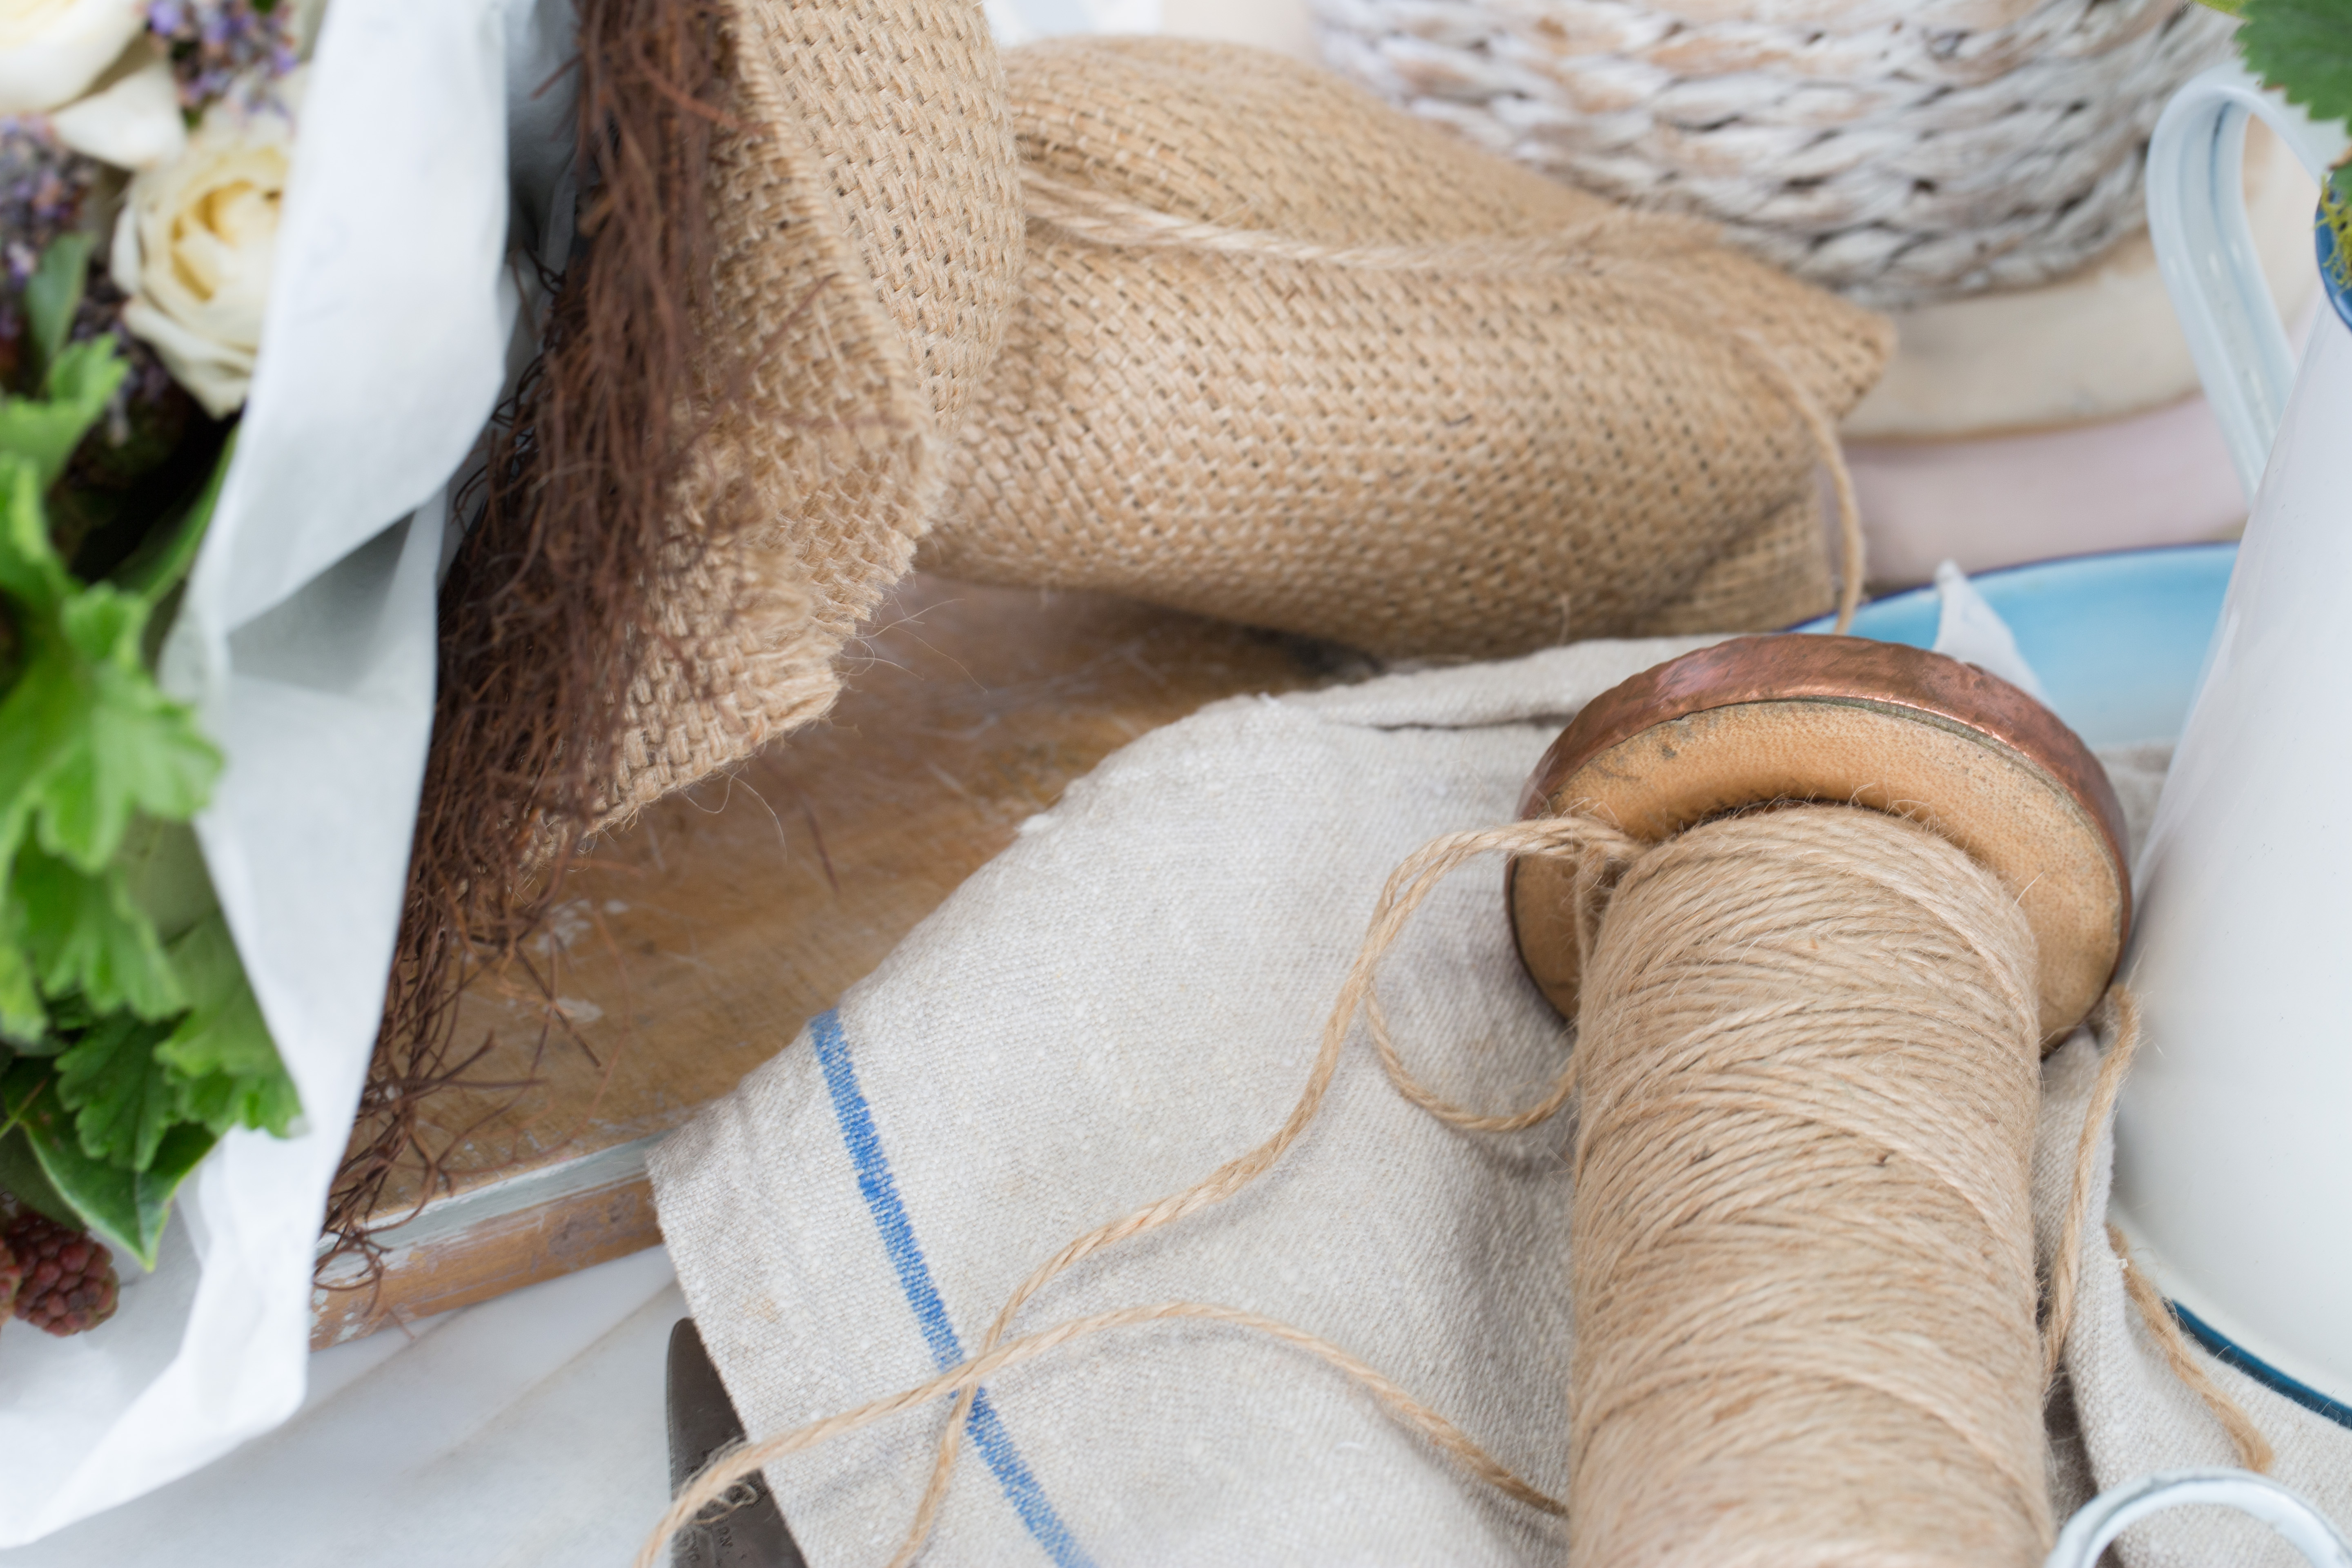
- Baking paper
- Twine
- Hessian or similar
- Birds nest wire frame (optional use as shown in video)
Tools:
- Basics pack
- Paper cutting scissors
- Grey lead pencil
-
Construction Steps:
- Choose and cut your botanical materials. For this posy, have your stems at approximately 20–25cm. Begin by removing all the lower leaves. Then place each different material into a separate container.
- Once all the lower material has been removed, create the posy’s junction point in the web of your left hand (for right-handed people) or right hand (for left-handed people), holding your first finger and thumb as shown in the video. Remember: your thumb is the gatekeeper that allows stems to enter.
- Begin with the geranium or, if you have chosen different herbs, use the herb with the strongest stems. One by one, place the stems into the junction area, bringing the foliage of the geranium down close to sit on the top of your hand, as shown in the video on our app.
- Set aside 6–8 of your shortest stems of herbs to use after you have added the roses to the posy, and set aside all the lavender and berries.
- Add the remaining herbs to the posy. Use your free hand to turn the posy after every couple of additions, as shown in the video. This will help your posy get a nice, round shape.
- Take a stem of David Austin rose and place into the centre of the base you have created from your herb stems. Protect rose stems by resting them on the other foliage, held by your thumb, as shown in the video. Do not attempt to place rose stems into the junction point.
- Add three berry stems to the posy, making sure they are evenly spaced around the top of the herb base.
- Repeat the above step using three rose stems so that berries and roses alternate around the top of the posy.
- Disperse the remaining berries evenly throughout the forming posy.
- Disperse the remaining roses evenly throughout the forming posy.
- Distribute the lavender throughout the posy.
- Place the remaining shorter stems of herb foliage evenly around the edge of the posy.
- Check that all flower heads are placed evenly. Hold the posy as far from your body as you can and check that you have arrived at an even dome shape.
- Once you are pleased with the shape, tie the stems together at the junction point.
- Trim all the stems to the same length approximately 10cm from junction point, then place the posy in a vase.
- Whilst your posy is having a lovely drink, you can prepare the baking paper for the wrapping. Use about 1m of paper. Write on it, personalise it and frill it as shown in the video.
- Add the posy to your wrapping, tie the wrapping, add a birds nest if you want to, and finish off with a square of hessian around the stems to complete your work.
To watch video demonstration on the construction of this posy download the app or join a beginners workshop or course