Blog
5 Steps to Create Your Own Green Wall At Home
If you live in a city with less-than-ideal weather, chances are that you’re looking for ways to bring the outdoors into your home. And if you live in an apartment or small house, it can be hard to find space for plants and flowers—especially if they require lots of sunlight. That’s why so many people love green walls: they’re low maintenance and add beautiful greenery to any room. If you want to know more about how to create and maintain one at home, read on!
Step 1: Decide on a location
The first step is to choose the right location. A green wall should be located in a place that receives plenty of sunlight, but it can’t be directly in the sun or it will overheat and damage the plants. A space with a north facing window is best as this allows for all day even light with no direct sunlight. Make sure you have easy access to water so you can keep your plants well hydrated, and make sure there’s enough space for you to reach everything from above without stepping on anything fragile (i.e. don’t plant your green wall in front of a door).
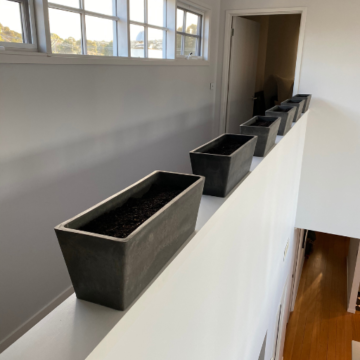
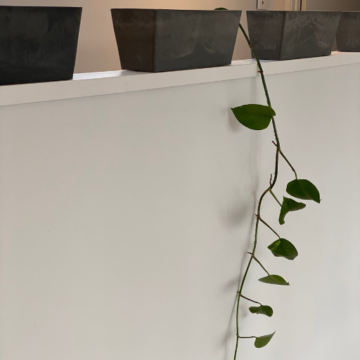
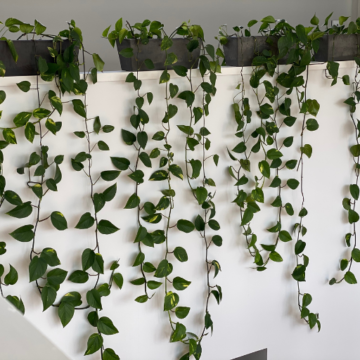
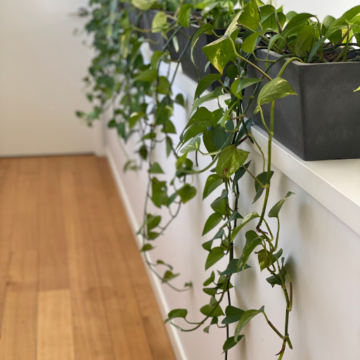
Once you’ve decided where your green wall will go, decide on which plant species would thrive there best: Are you trying to mimic natural conditions? Do you want something exotic? Or do you want something more traditional? Depending on what kind of look you’re going for and how much room is available in your backyard or apartment balcony/patio area (or wherever else), these factors will determine which plants are right for growing vertically! It pays to do your homework on what varieties will thrive in your space. Think about the type of environment in which the plants grow naturally. We have opted for a thin ledge over a void with a large north facing window.
Step 2: Install the planter on your wall
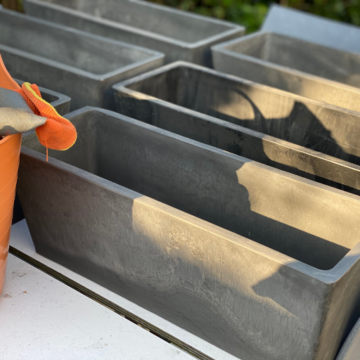
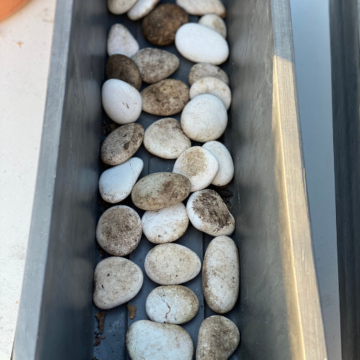
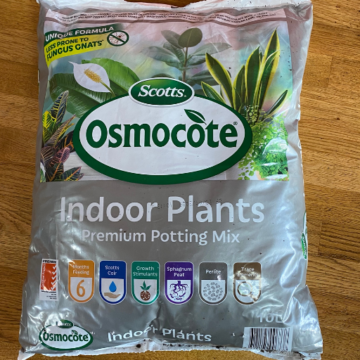
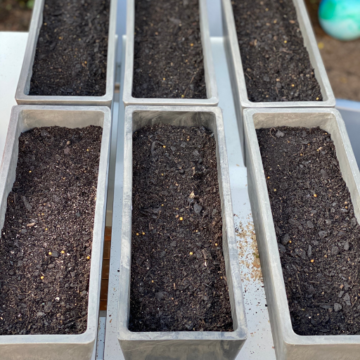
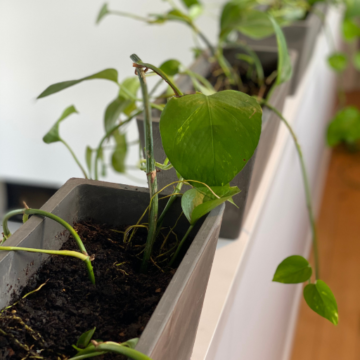
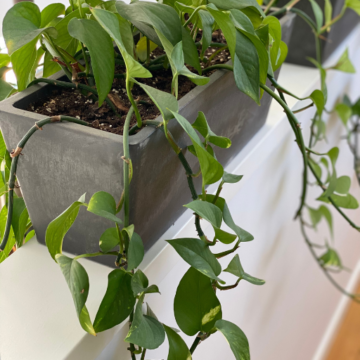
In the case of your green wall, a planter refers to the pots and structure that’s going to hold your green wall all together. You can find a lot of good options online, and it’s pretty easy to find green wall setups that are self-watering too. We wanted to use pots that were water tight, meaning they have no drainage holes, we didn’t want any overflow water messes! Because our chosen pots do not have any drainage we needed to ensure we added some natural filter system to the base before adding the soil. This is very simple and not at all as sophisticated as it sounds, we simply made a few layers of varying sizes stones and pebbles along with some charcoal, sphagnum moss and sand. As pictured….

Follow the instructions from your planter to construct the entire structure and then attach it to your wall. Depending on the type of planter you choose, we’d recommend having a hammer, drill and appropriate wall fixings on hand.
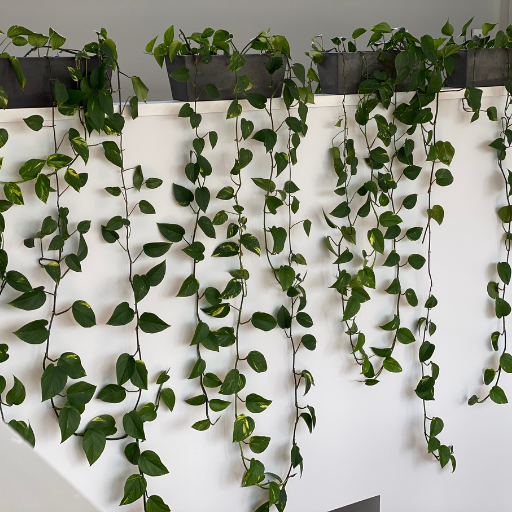
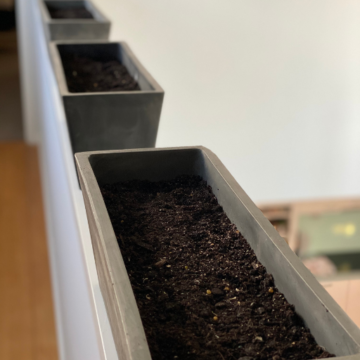
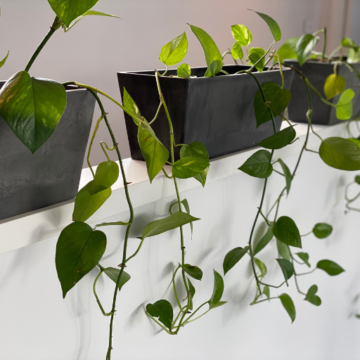
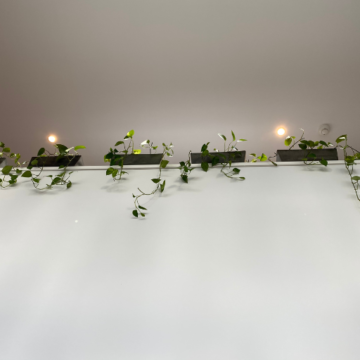
Of course if you are renting or attaching pots directly to a wall or surface is not an option you can sit the pots on a ledge just as we have, pictured above.
Step 3: Choose your plants.
Now that you’ve got your planter/s installed, it’s time to choose the plants that will create your living wall. When picking plants for a green wall, there are several things to consider:
- Hardiness and ease of maintenance
- Suitability for the location (sun or shade; dry or wet soil)
- Suitability for light conditions (bright window versus shady corner)
- Suitability for temperature conditions (hotter outdoors than inside)
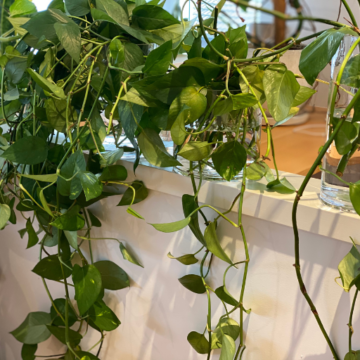
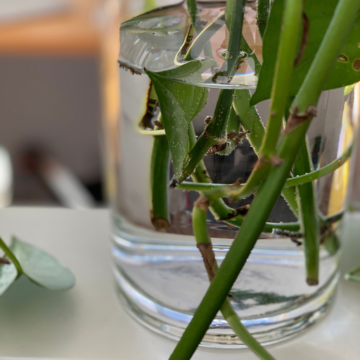
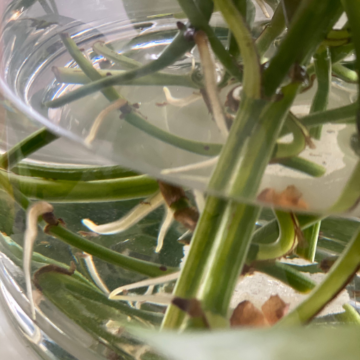
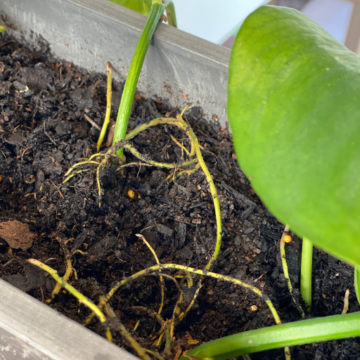
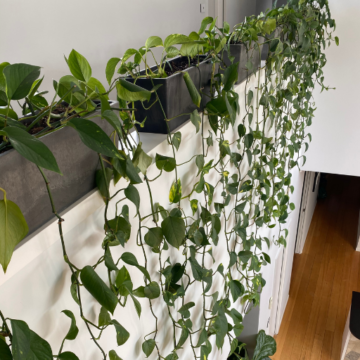
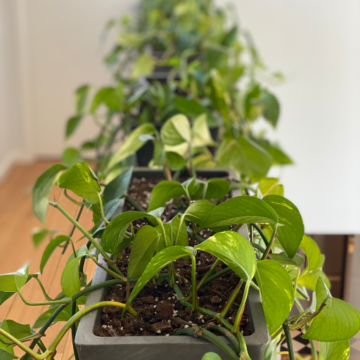
Some popular indoor plants are ivy, spider plants, ferns and succulents. If you’re planting your wall outdoors, consider plants that are going to attract birds, such as those with seeds and berries, as well as blooming plants to attract bees. Climbers like Chinese Star Jasmine, Jasmine and or Honey Suckle are great options and grow quickly. We chose to use cuttings of Pothos, also known as devils ivy. This is an extremely low cost option. We started by placing the cuttings in vases of clean water and give the roots time grow and establish before planting into the pots.
Step 4: Plant the wall.
Once you’ve decided on which plants are right for your wall and how many of each type to buy, the next step is planting. Follow the instructions for planting individual plants and flowers – if your seeds/seedlings/plants don’t come with instructions, just do a quick google search for how best to plant that type. *Remember to top up the soil directly after planting and every few months following.
Once you’ve got a good amount of growth, trim the wall back once every two weeks for six months or so until it’s filled out nicely and has a good shape. Wait until everything grows in its full glory before getting rid of anything else that hasn’t settled into its place yet (this may take anywhere form 6 to 18 months depending on the plant varieties).
Step 5: Maintain your living wall
Maintaining your living wall is a bit of work, but it’s worth the effort. You’ll need to keep the plants watered, as well as remove dead plants or browning leaves, plants that aren’t thriving or not growing in the right colour/shape, as well as undertaking regular trimming.
When watering your living wall:
- Water gently once every few days to keep the soil moist but not wet.
- Use tepid/warm water rather than cold; this will help prevent shock from sudden temperature change.
When fertilising your living wall, avoid using chemical fertilisers; instead use natural ones such as compost or worm castings.
Step 5: Care and maintenance
To keep your living wall thriving, it’s important to pay attention to the soil and the plants. The golden rule here is: no plant should be planted too close together. Otherwise, they’ll compete for space, light, and nutrients. It’s also important that you give your wall a regular trim every few months (more frequently during high summer) so that the plants don’t grow too tall or out of control.
Once our ivy gets too long we trim it and place the cuttings back into a clean vase again to grow new roots, its constant cycle of adding new cuttings once the roots are established.

To give your living wall a helping hand in getting established and healthy, you can use self-watering containers. All you need to do is fill up their little reservoirs with water once or twice per week!
It’s really not so difficult to create a stunning wall of greenery in your home. It doesn’t require any special skills or tools and can be done by anyone who has an urge to grow something beautiful in their own backyard or at home. So what are you waiting for? We can’t wait to see what you create.
Need a few tools to get you started? We’ve got you covered! We’ve put together an essential tool pack with everything you need.