Blog
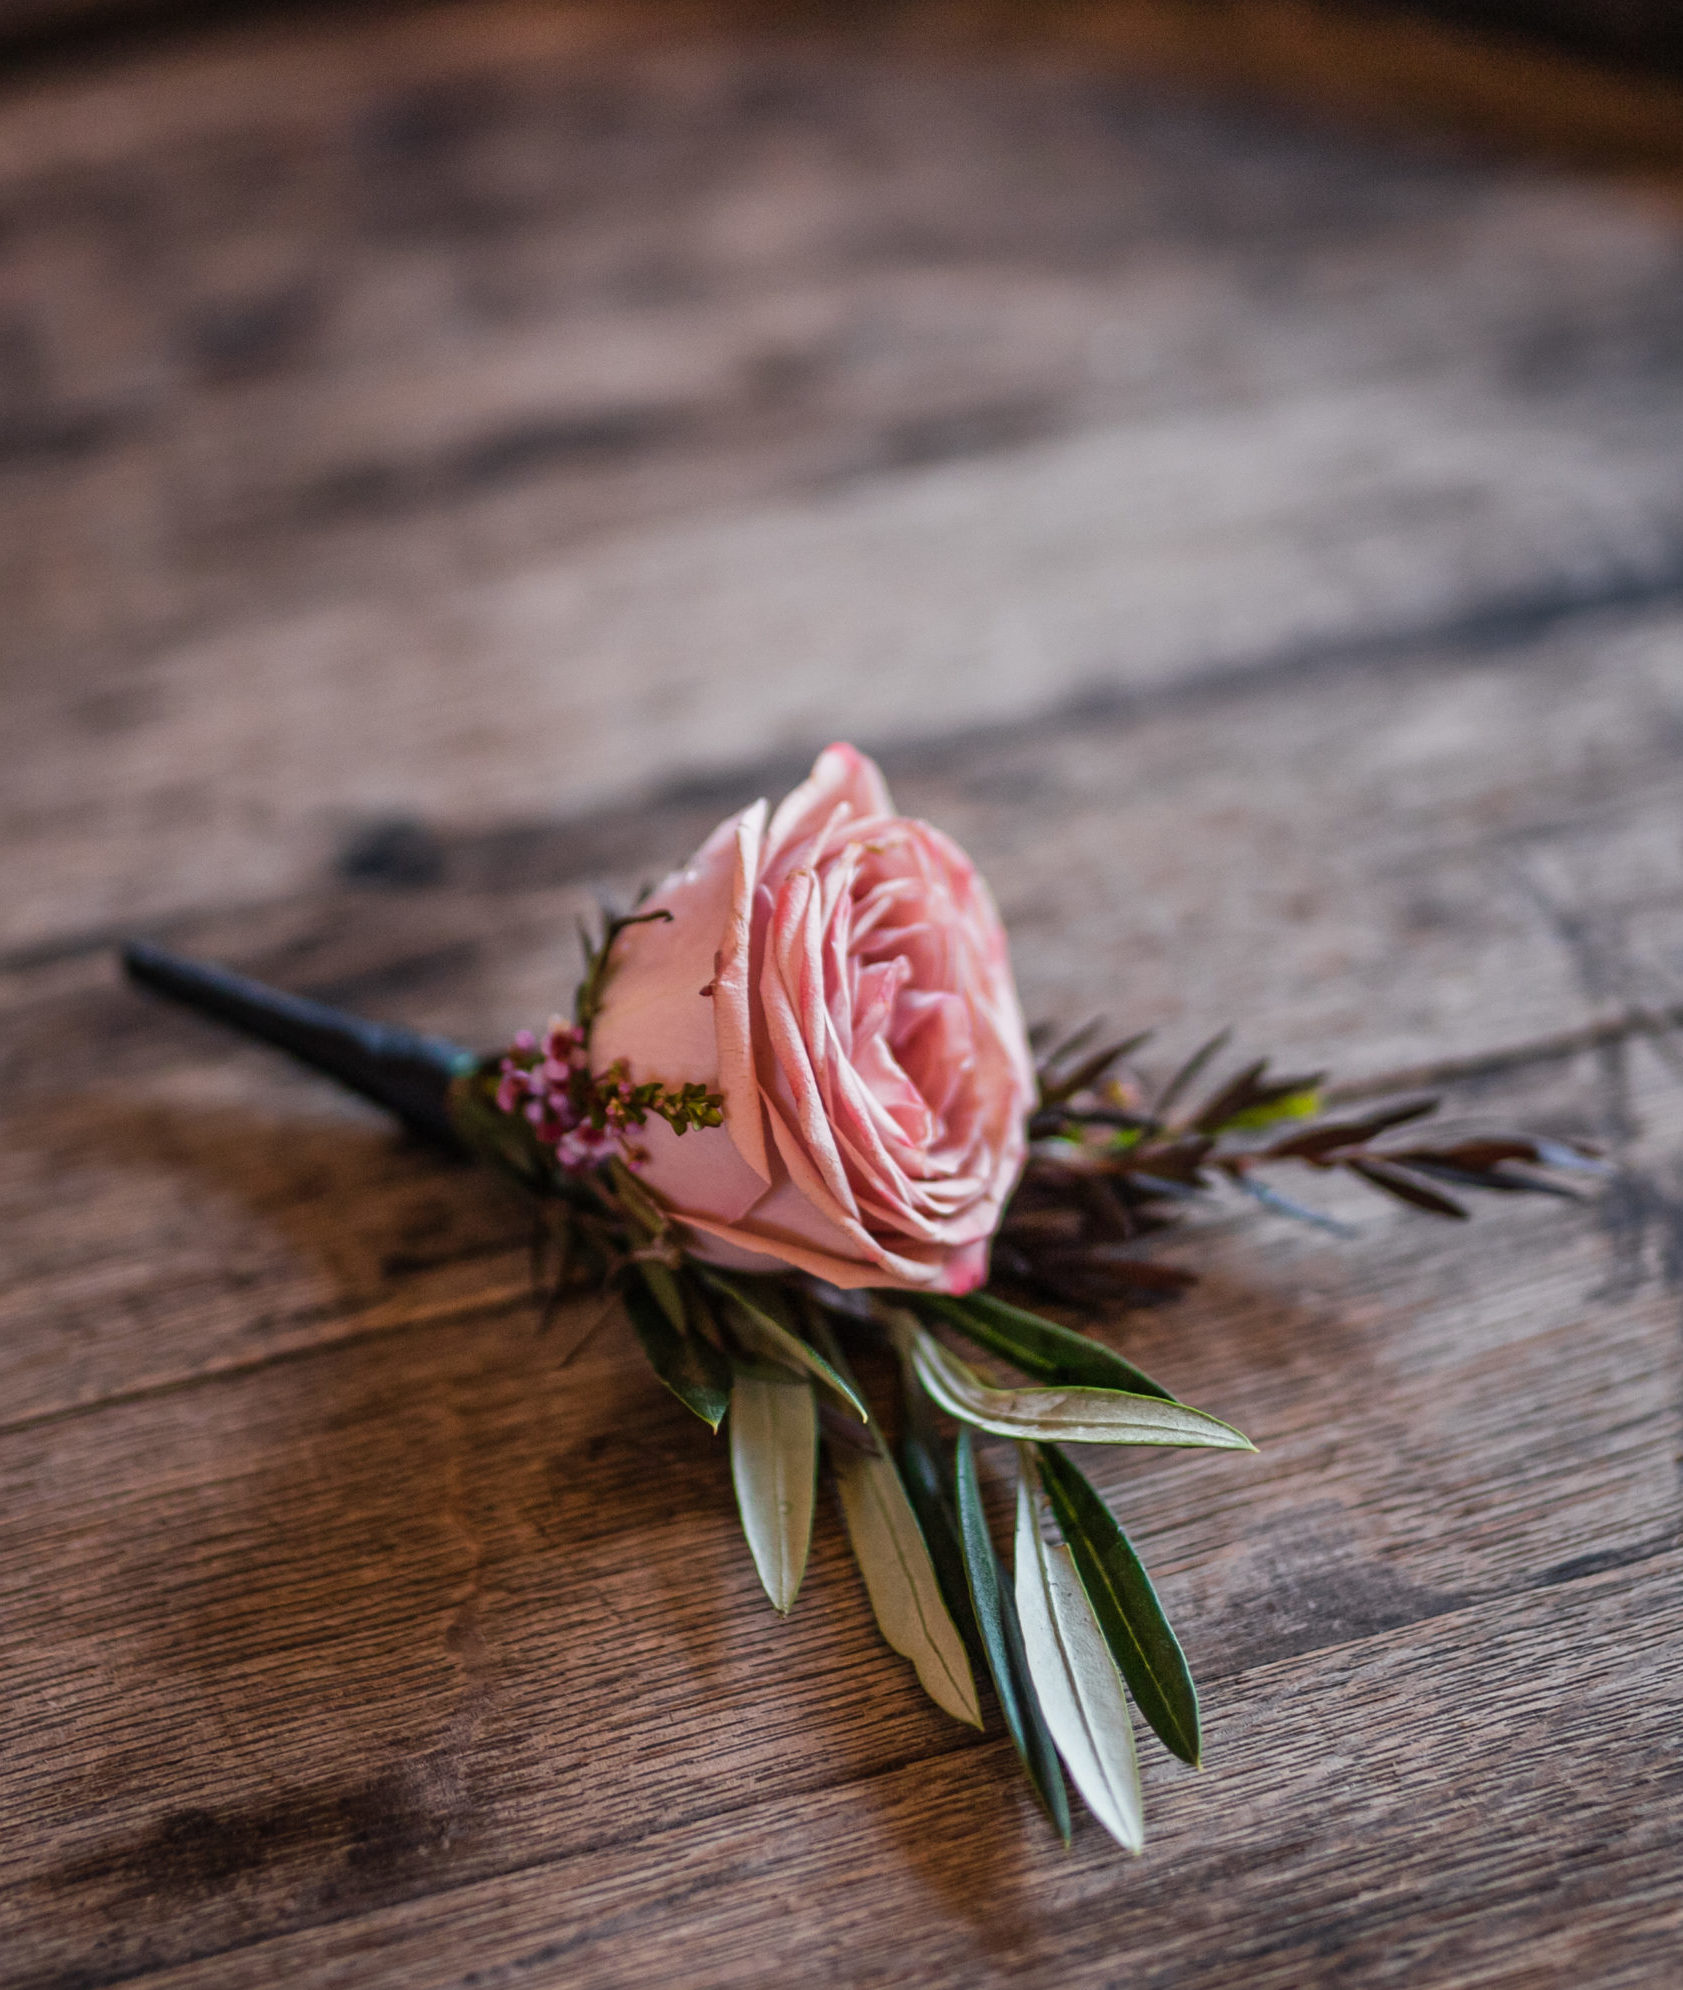
Boutonniere: How To Make a Buttonhole
Buttonholes were first introduced as “nosegays” in early 1500s Europe and North America for wealthy gentlemen to disguise the odours of those eras (we’ll let you use your imagination).
Today the tradition of wearing buttonholes continues for special occasions like weddings or big events. Buttonholes are traditionally worn by men on the lapel of their suits, however these days more elaborate buttonholes are commonly unisex and can be worn regardless of gender.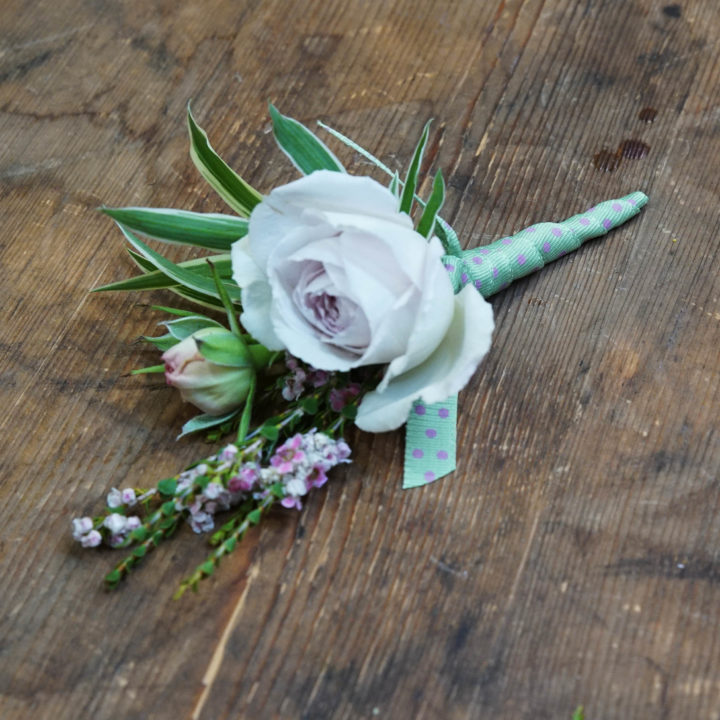
So, how do we make one?
Ingredients
- 1 x rose bud
- 1 x rose
- 1 x sprig of any accent flower (we used Scholtzia)
- 1 or 2 leaves
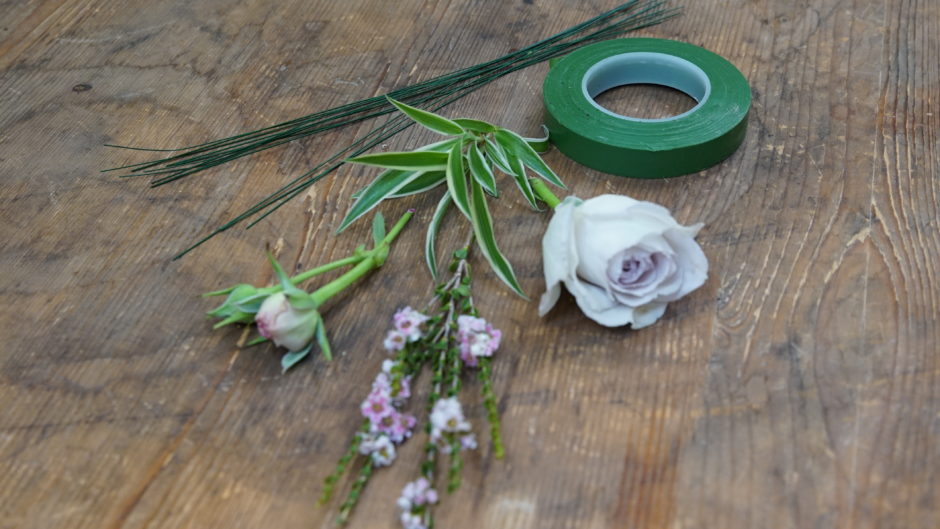
Tools & Accessories
- Basics Tool Kit – floristry snips, secateurs, towel, apron, gloves
- .5 wire
- .4 wire
- Parafilm (green floral tape) 3mm ribbon or twine
Construction
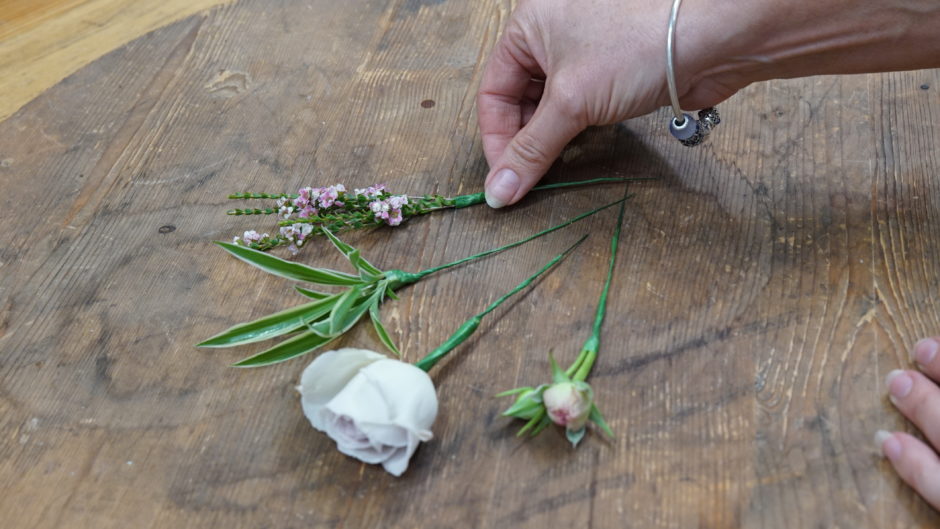
1. Cut the rose stem to a suitable length, then, using the .5 gauge wire, pierce through the calyx of the rose head, pushing the wire through until it reaches the length of the rose stem. Fold the two ends of the wire down along the rose stem, cut the wire ends to length, then tape (using parafilm) the entire stem, hiding the wire.
2. Prepare the remainder of the flowers and leaves by cutting them to a suitable length and wiring with the .5 or .4 wires. Tape over any wire sticking out.
3. Construct the buttonhole by beginning with the large rose and the rose bud. Place the rose bud slightly higher than the large rose, as pictured. The two wires will meet at the junction point.
4. Add the accent flower, alongside the rose bud, which will sit slightly higher to create the highest point of the buttonhole.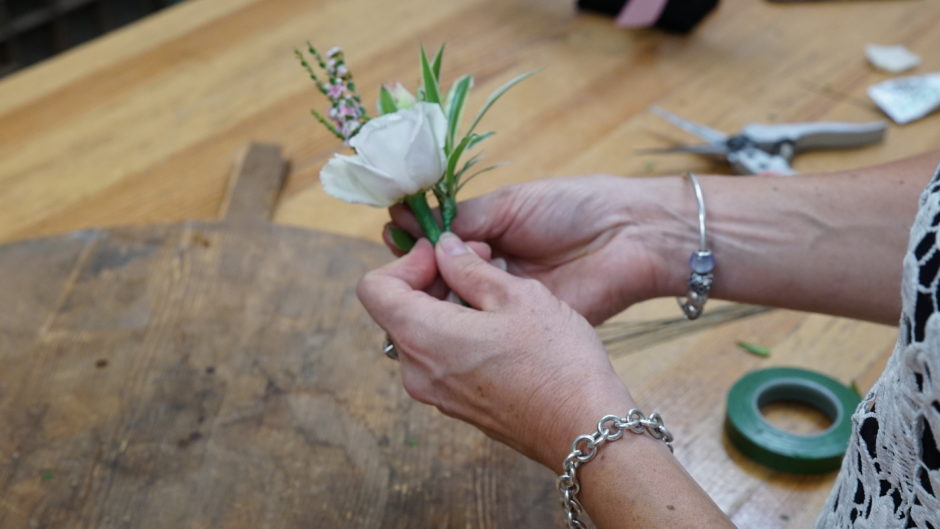
5. To finish the placement of materials, add 1–2 wired pieces of foliage or leaves in front of the large rose.
6. Once you are happy with your design, tape all the wire stems together forming one shank/stem, making sure you cover the end of the shank with tape so no wires are left exposed.
7. Finally, you can wrap some ribbon or twine around the shank to add colour or detail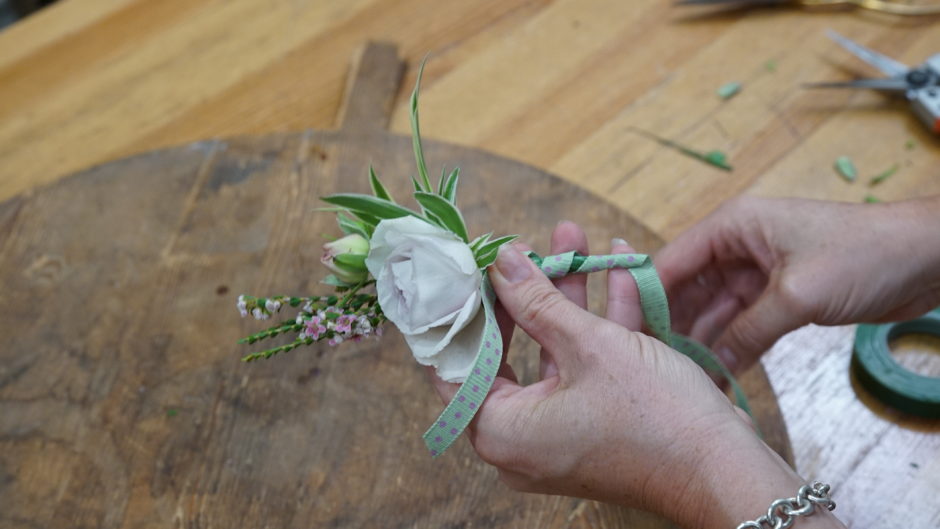
TIP: Cut the ‘shank’ length measured using your 3 fingers held horizontally (approximately 5 cms) The ‘shank’ is the group of wire stems coming from the junction point down.
This is one of seven super easy arrangements featured in our Bloom Basics online course!