Blog
How To Care For Cut Banksias

We love our banksias down here in Australia.
These beautiful, native spring flowers bloom in August all the way through to sunny December, making them a stunning addition to any spring arrangement. Banksias are a symbol of rebirth and new beginnings, which makes sense considering they’ve become a popular wedding flower.
These flowers are also ancient––the earliest fossil record of one being more than 50 million years old!
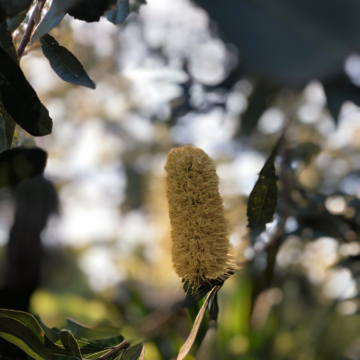
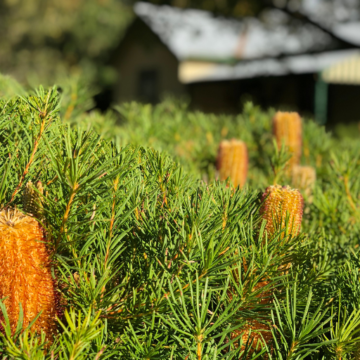
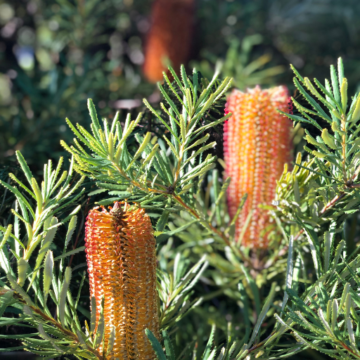
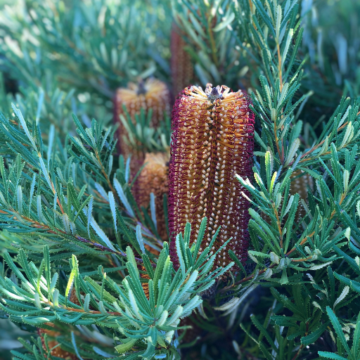
A member of the Protea family, there are around 80 different species of banksia. Despite all this variety, banksias are easily recognisable by their distinctive cone-shaped flower clusters. When all these little flowers open up, they give the banksia its classic fluffy appearance. Banksias also come in an array of colours––yellow, red, green and even a beautiful peachy orange.
They’re well-loved by Australian florists because not only are they scentless (ideal for customers sensitive to strong floral scents), they have a long vase life and they add a distinctively Australian touch to any bouquet. Even the cones are used in floral arrangements!
Tip: When buying cut banksias, look for those with only the bottom third of flowers open. You should also avoid any banksias that are wet, as the moisture can cause the flowers to develop black streaks.
Step 1: Keep them cool
Because florists are well-versed in flower care, they’ll know to have kept your banksias nice and cool right up to the moment they’re in your hands. Once you’ve got them, get them home as soon as you can and keep them in a cool room while you get ready to prepare them. Avoid direct sunlight for long periods of time or placing them in front of a heater or air conditioner.
Step 2: Strip leaves
Once you’ve got your banksias laid out on the table ready to prep, you can take a pair of scissors or a floristry knife and strip the leaves from the lower half of each stem.
Step 3: Recut the stems
After stripping the leaves, take your scissors and recut each stem, taking about 2cm off the ends. Make sure you have your vase of cold water on hand to place the flowers in immediately after they’ve been cut.
Step 4: Be gentle
Damage to the stems can spell the end for your banksias, so be very careful when handling them so that you don’t knock or split the stems. A nice healthy stem will make all the difference in ensuring a longer vase life!
Step 5: Keep them hydrated
Banksias are very thirsty, so make sure you’re replacing the vase water each day with fresh, clean water. Adding preservative to the water is also a good idea, but it’s entirely up to you.
Step 6: Keep the flowers dry
As we mentioned before, wet banksia flowers are a no-no. Don’t be tempted to spray them with water or use a mister––these will only aid those awful black streaks in popping up.
Follow our steps and your banksias should have a long, happy vase life. Make sure to tag @bloomcollege on socials if you snap a photo of your own banksias––we’d love to see them!