Blog
How To Make A Winter White Posy
Posies are one of the most traditional and common floral arrangements – and it’s not hard to see why! They’re super versatile and can be created from all sorts of different foliage and floral material.
Fun fact – posies have been used since at least mediaeval times when they were carried to disguise the unpleasant smells of the era… we’ll let you imagine what those might have been!
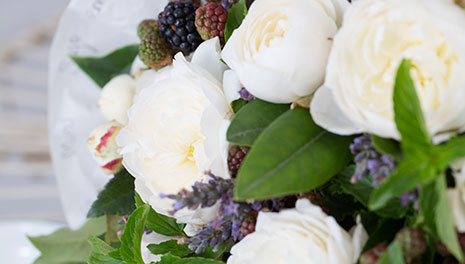
In this posy how-to we’ll be creating a design using winter flowers and garden herbs. For our central flower we’ll be using roses (as you can always find a variety of roses in season throughout the year) but some great winter options could be anemones, poppies, sweet pea or even tulips. For herbs, feel free to use whatever is in your garden or what’s in season at the moment.
INGREDIENTS
- 10 Rose stems/OR substitute with Tulips, Anemones etc
- 1 bunch Lavender
- 1 bunch Lemon scented geranium
- 1 bunch Mint
- 1 bunch Basil
- 1 bunch Rosemary
- 1 bunch Berries
- 1 bunch Parsley

TOOLS & ACCESSORIES
- Basics tool pack
- Paper cutting scissors
- Baking paper
- Grey lead pencil
- Twine
- Hessian or similar

Choose and cut your botanical materials. For this posy, have your stems at approximately 20–25cm. Begin by removing all the lower leaves. Place each different material into a separate container.
Once all the lower material has been removed, create the posy’s junction point in the web of your hand, holding with your first finger and thumb. Remember: your thumb is the gatekeeper that allows stems to enter.
Begin with the geranium or, if you have chosen different herbs, use the herb with the strongest stems. One by one place the stems into the junction area, bringing the foliage of the geranium down close to sit on the top of your hand.
Set aside 6 – 8 of your shortest stems of herbs to use after you have added the flowers to the posy, and set aside all the lavender and berries.
Add the remaining herbs to the posy. Use your free hand to turn the posy after every couple of additions. This will help your posy get a nice round shape.
Take a flower stem and place it into the centre of the base you have created from your herb stems. Protect flower stems by resting them on the other foliage, held by your thumb.
Add three berry stems to the posy, making sure they are evenly spaced around the top of the herb base.
Repeat the above step using three rose stems so that berries and roses alternate around the top of the posy.
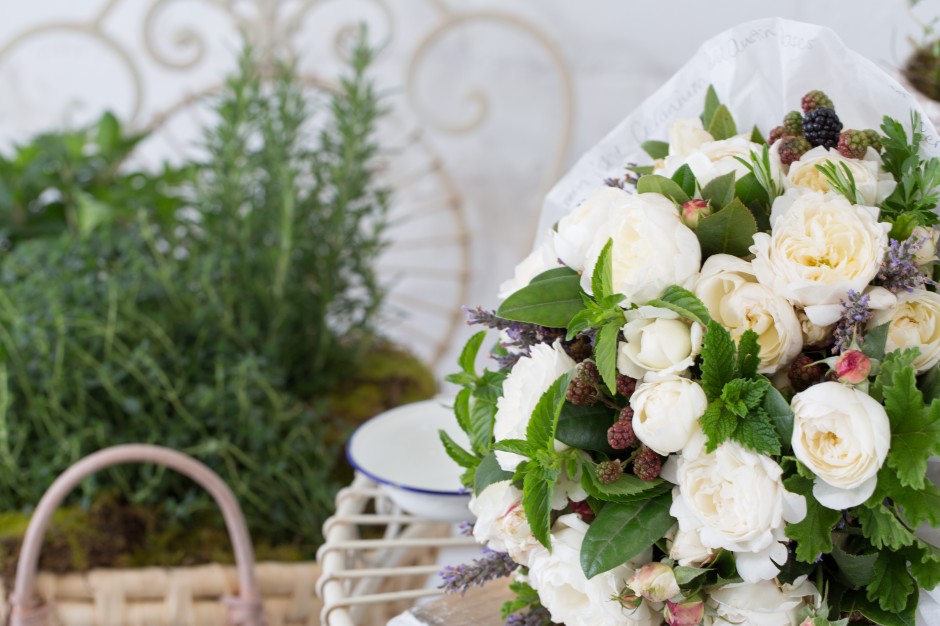
Disperse the remaining berries, flowers and lavender evenly throughout the forming posy.
Place the remaining shorter stems of herb foliage evenly around the edge of the posy.
Once you are pleased with the shape, tie the stems together at the junction point.
Trim all the stems to the same length, approximately 10cm from junction point, then place the posy in a vase.
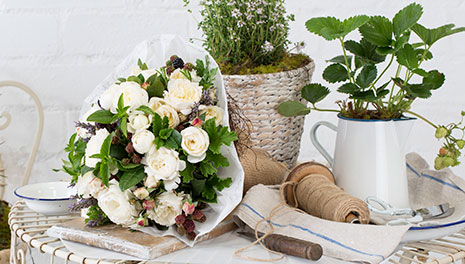
Whilst your posy is sitting, you can prepare your baking paper for the wrapping, using about one metre. Add your posy to the wrapping, tie it up, and finish it off with a square of hessian around the stems.
This is one of seven super easy arrangements featured in our brand new, FREE Flower Basics eBook. To get your hands on a copy, just enter your email via the image link below and it’ll be delivered directly to your inbox!