Tag Archives: how to make floral arrangements step by step

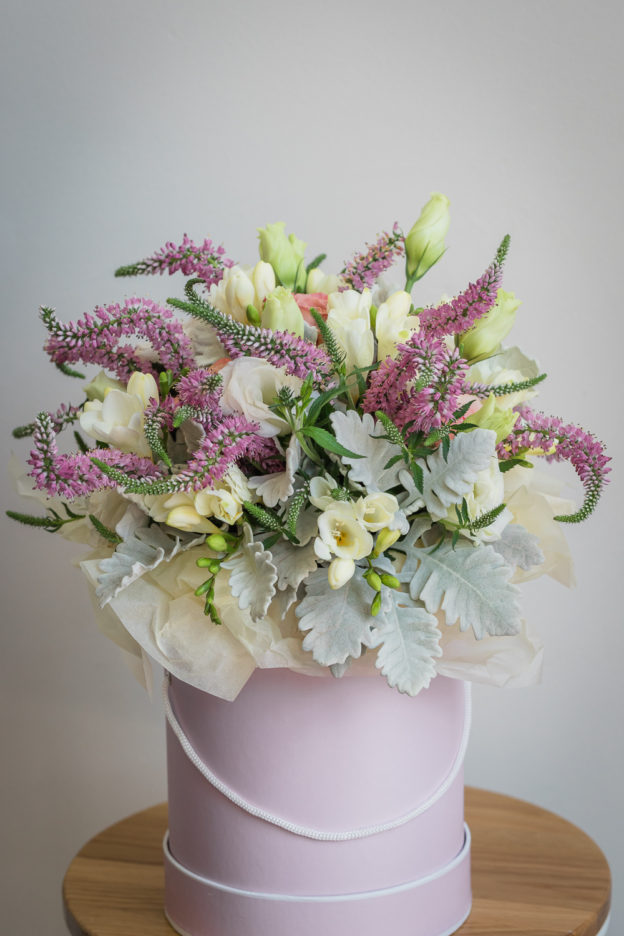
flowers in hat box

How To Make A Hat Box Arrangement

Easy to transport and deliver, as well as being a stunning treat for the lucky recipient, hat boxes are a staple arrangement in any florist’s repertoire. A luxurious hat box could be just the special type of arrangement to offer to help your floristry business stand out from the crowd during any busy season.


Ingredients


  • ½ x bunch of roses
  • ½ x bunch of lisianthus
  • 1 x bunch of veronica or lavender
  • 1 x bunch of freesia or erlicheer
  • 1 x bunch of sIlver suede foliage


Tools

  • Basics Tool Kit – floristry snips, secateurs, towel, apron, gloves
  • Hatbox (whatever size you like)
  • Water well or container
  • Cellophane for lining the box
  • Tissue Paper
  • Twine


Design Steps


  1. Clean and condition the flowers before re-cutting and rehydrating in fresh water.
  2. Line the bottom of the hat box with cellophane.
  3. Place the water well at the bottom of the box, and place more scrunched-up cellophane around the edge to secure the water well.
  4. Add some extra tissue paper at the top.
  5. Lay out all your floral material on the bench.
  6. Start forming your hand-tied bouquet with a piece of silver suede or foliage.
  7. Using the spiral method, place a rose next to the silver suede.
  8. Continue to add more flowers and foliage one at a time using the spiral method.
  9. Continue until you have made a round-shaped bouquet.
  10. Tie off with twine, then cut ends to the desired length. You may want the top of the flowers to be just higher than the edge of the box OR you may want them to sit just below so you can put the lid on the box, creating a lovely surprise for the recipient.
  11. Place the bouquet into the water well inside the hat box.
  12. Place extra tissue around the bouquet if required.


Tip: The hat box is constructed like a hand-tied posy and inserted into the presentation box.
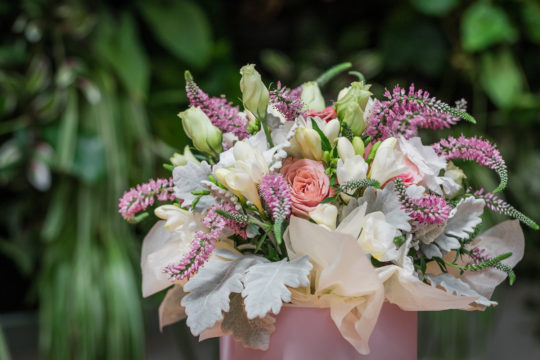
flowers in a hat box

We can’t wait to see what you come up with! Make sure to tag @bloomcollege on Instagram and Facebook so we can share your creation with fellow flower lovers. 

This hat box arrangement is one of the designs featured in our e-book, Beyond The Basics. In it, you’ll find other showstopping designs with easy-to-follow instructions. 
 

Simple Vase design

How To Make A Simple Vase Arrangement

There are few decorations more impactful in your home than a vase of fresh seasonal flowers. (We know we always have a few around the house!)

The big plus with vase arrangements is that they can be as simple or complex as you choose. There’s plenty of room for creativity, from the type of flowers, the combinations you pair together and the type of vase.

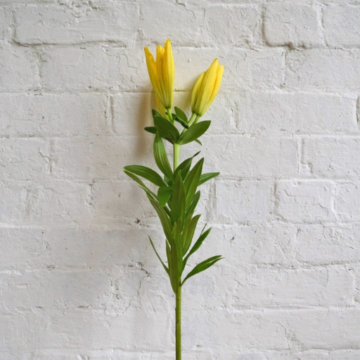
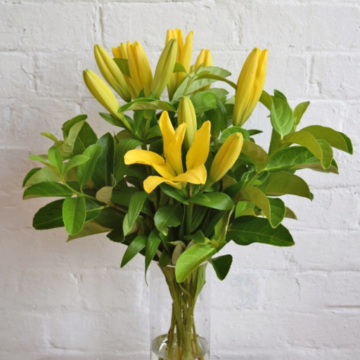
In this post, we will be arranging a simple clear glass vase, medium in height and width, suitable for many different flower varieties with medium-length stems. We’ll be using bright yellow LA lilies to bring that pop of spring colour to our vase, but feel free to use whatever flowers your local growers have available.

Let’s get to arranging!

Ingredients

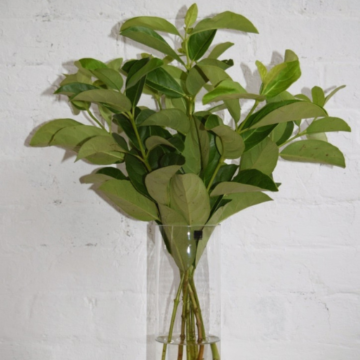
  • 1/2 bunch Viburnum Lush
  • 3 x stems LA Lilies
  • 1/2 bunch Twisted Willow

Tools

  • Basics Tool Kit – floristry snips, secateurs, towel, apron, gloves
  • 25cm Clear Vase

Design Steps

  • Begin by cleaning a vase and drying the outside.
  • Add water to your vase, filling to about a third or halfway, depending on its size. Add the flower preservative.
  • Prepare all of your materials by stripping back any leaves from halfway down the stems. This ensures the water will stay clean, as any submerged leaves will rot under the water and bring a load of bacteria into the vase.
  • Start with arranging the viburnum foliage directly into the vase, forming a base for your flowers (this also assists in establishing the height and width of your design).
  • Add the twisted willow to create height and interest.
  • Add the 3 stems of lilies to the base of the foliage. Taper the length of the stems so one is the tallest and two are shorter, allowing each lily sufficient room for its petals to open fully.
  • Place your vase in a spot that will get indirect sunlight during the day


Stem of yellow LA Lily Strat with foliage in vase first Easy flower arranging

Tip: Always make sure your vase or vessel has been thoroughly cleaned with warm soapy water or diluted vinegar. Thoroughly dry on the outside to avoid a slipping hazard and fingerprints.

We can’t wait to see what you come up with! Make sure to tag @bloomcollege on Instagram and Facebook so we can share your creation with fellow flower lovers. 

This super simple vase arrangement is one of the designs featured in our brand new e-book, Flower Basics. This e-book is entirely free, so we hope you get a lot out of it! To access the book simply sign up to our Budders Club here for FREE