Tag Archives: arranging flowers

Emily Dwyer fulfilling the need for creativity through flowers

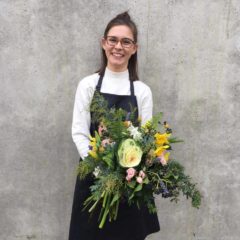
Meet Emily Dwyer an enthusiatic Bloom student with a focus on a bright future….

What did you do before studying floristry?

Before studying floristry, I completed a Bachelor of Arts degree in Criminology and Sociology at the University of Melbourne. I had the privilege of travelling to Mexico City to study immigration and human rights.

Tell us a bit about you, where did you grow up, where do you live now, what are your favourite things?

I am from the small seaside town of Inverloch in South Gippsland where I enjoy going home to spend time with family and friends and swim at the beach in summer. I moved to Melbourne when I was 19 years old to study at university and now live in Hawthorn with my partner. My favourite things are travelling to new places, being creative, getting lost in a good book, cocktails with friends, having a good laugh and of course, big bunches of beautiful blooms!

What inspired you to make the change to floristry?

I was feeling unhappy and unfulfilled creatively in what I was doing at university so when I reached my final year of university I knew it was time to look for something that was going to give me the freedom to be creative everyday. Since I was a child I have always enjoyed doing crafty projects with my mum, who is creative herself, and I always enjoyed art at school and actually completed my year ten work experience with a local florist. Apart from just loving the beauty of flowers I have always enjoyed putting arrangements together for a friend’s birthday or for family occasions. I always loved the enjoyment of putting a smile on someone’s face when I gave them a bunch of flowers that I had the joy of creating myself, so floristry just seemed like the perfect way to express my creative side.

Why did you choose Bloom College?

I found Bloom College in a Google search when I was desperately searching for something that would satisfy my inner creativity! Bloom provides you with a hands-on, interactive learning experience and a supportive community of like-minded people that I know will be life-long flower friends! The course is also structured in a way that allows you to learn the most up to date techniques and trends in the industry right now. I loved the excursion to the flower growers because supporting your local growers is such an important part of being a florist and having an understanding of where your flowers come from gives you a great appreciation for the love that goes into growing every bloom.

What do you want working with flowers to give you that your previous career/s did not?

Floristry gives me the freedom to be creative everyday! Not only does it make me happy it’s also my way of bringing happiness to another person’s day. When I was unhappy in what I was doing my mum used to send me bunches of blooms from my favourite florist and it always cheered me up! I like to think that I can do the same for other people. My interest really lies in floral design and styling for weddings and events so I look forward to meeting wonderful new people and being able to bring their visions to life. My future in floristry truly excites me!

Do you want to have your own floristry business? If so what will you specialize in?

Having my own floristry and event styling company is my long term goal, specialising in weddings and events. Right now, I still believe I have a lot to learn and skills to gain from working with other florists in the industry.

What is your vision for the future of your business and or the industry?

I would really like to see sustainability become a priority within the floristry industry with a strong emphasis on supporting local growers and maintaining environmentally friendly practices such as choosing sundry materials that have minimal impact on the environment.

Who inspires you?

There are many florists and companies that inspire me. I continually look at the beautiful work they do and it truely inspires me to reach my long term goals! They make me realise just how much opportunity there is in this industry if you work hard, are motivated and have a real passion for what you do. My family and friends are a huge inspiration for me. They continually encourage and support me. They could see I wasn’t happy in what I was doing and so always encouraged me to find something I really loved. My mum is really creative and so has always encouraged and supported me to find my creative passion. She helps me condition every flower and is always there to talk through my ideas. My partner puts up with me turning our house into a florist studio, is often my personal photographer and comes along with me to transport or set up flowers. I’m so grateful to have their amazing support!

What is your preferred design style?
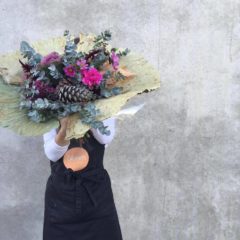
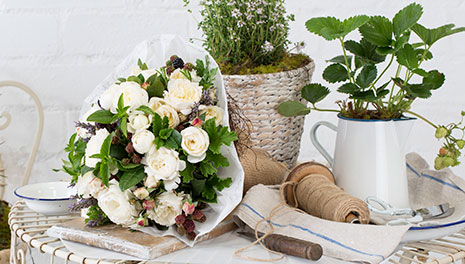
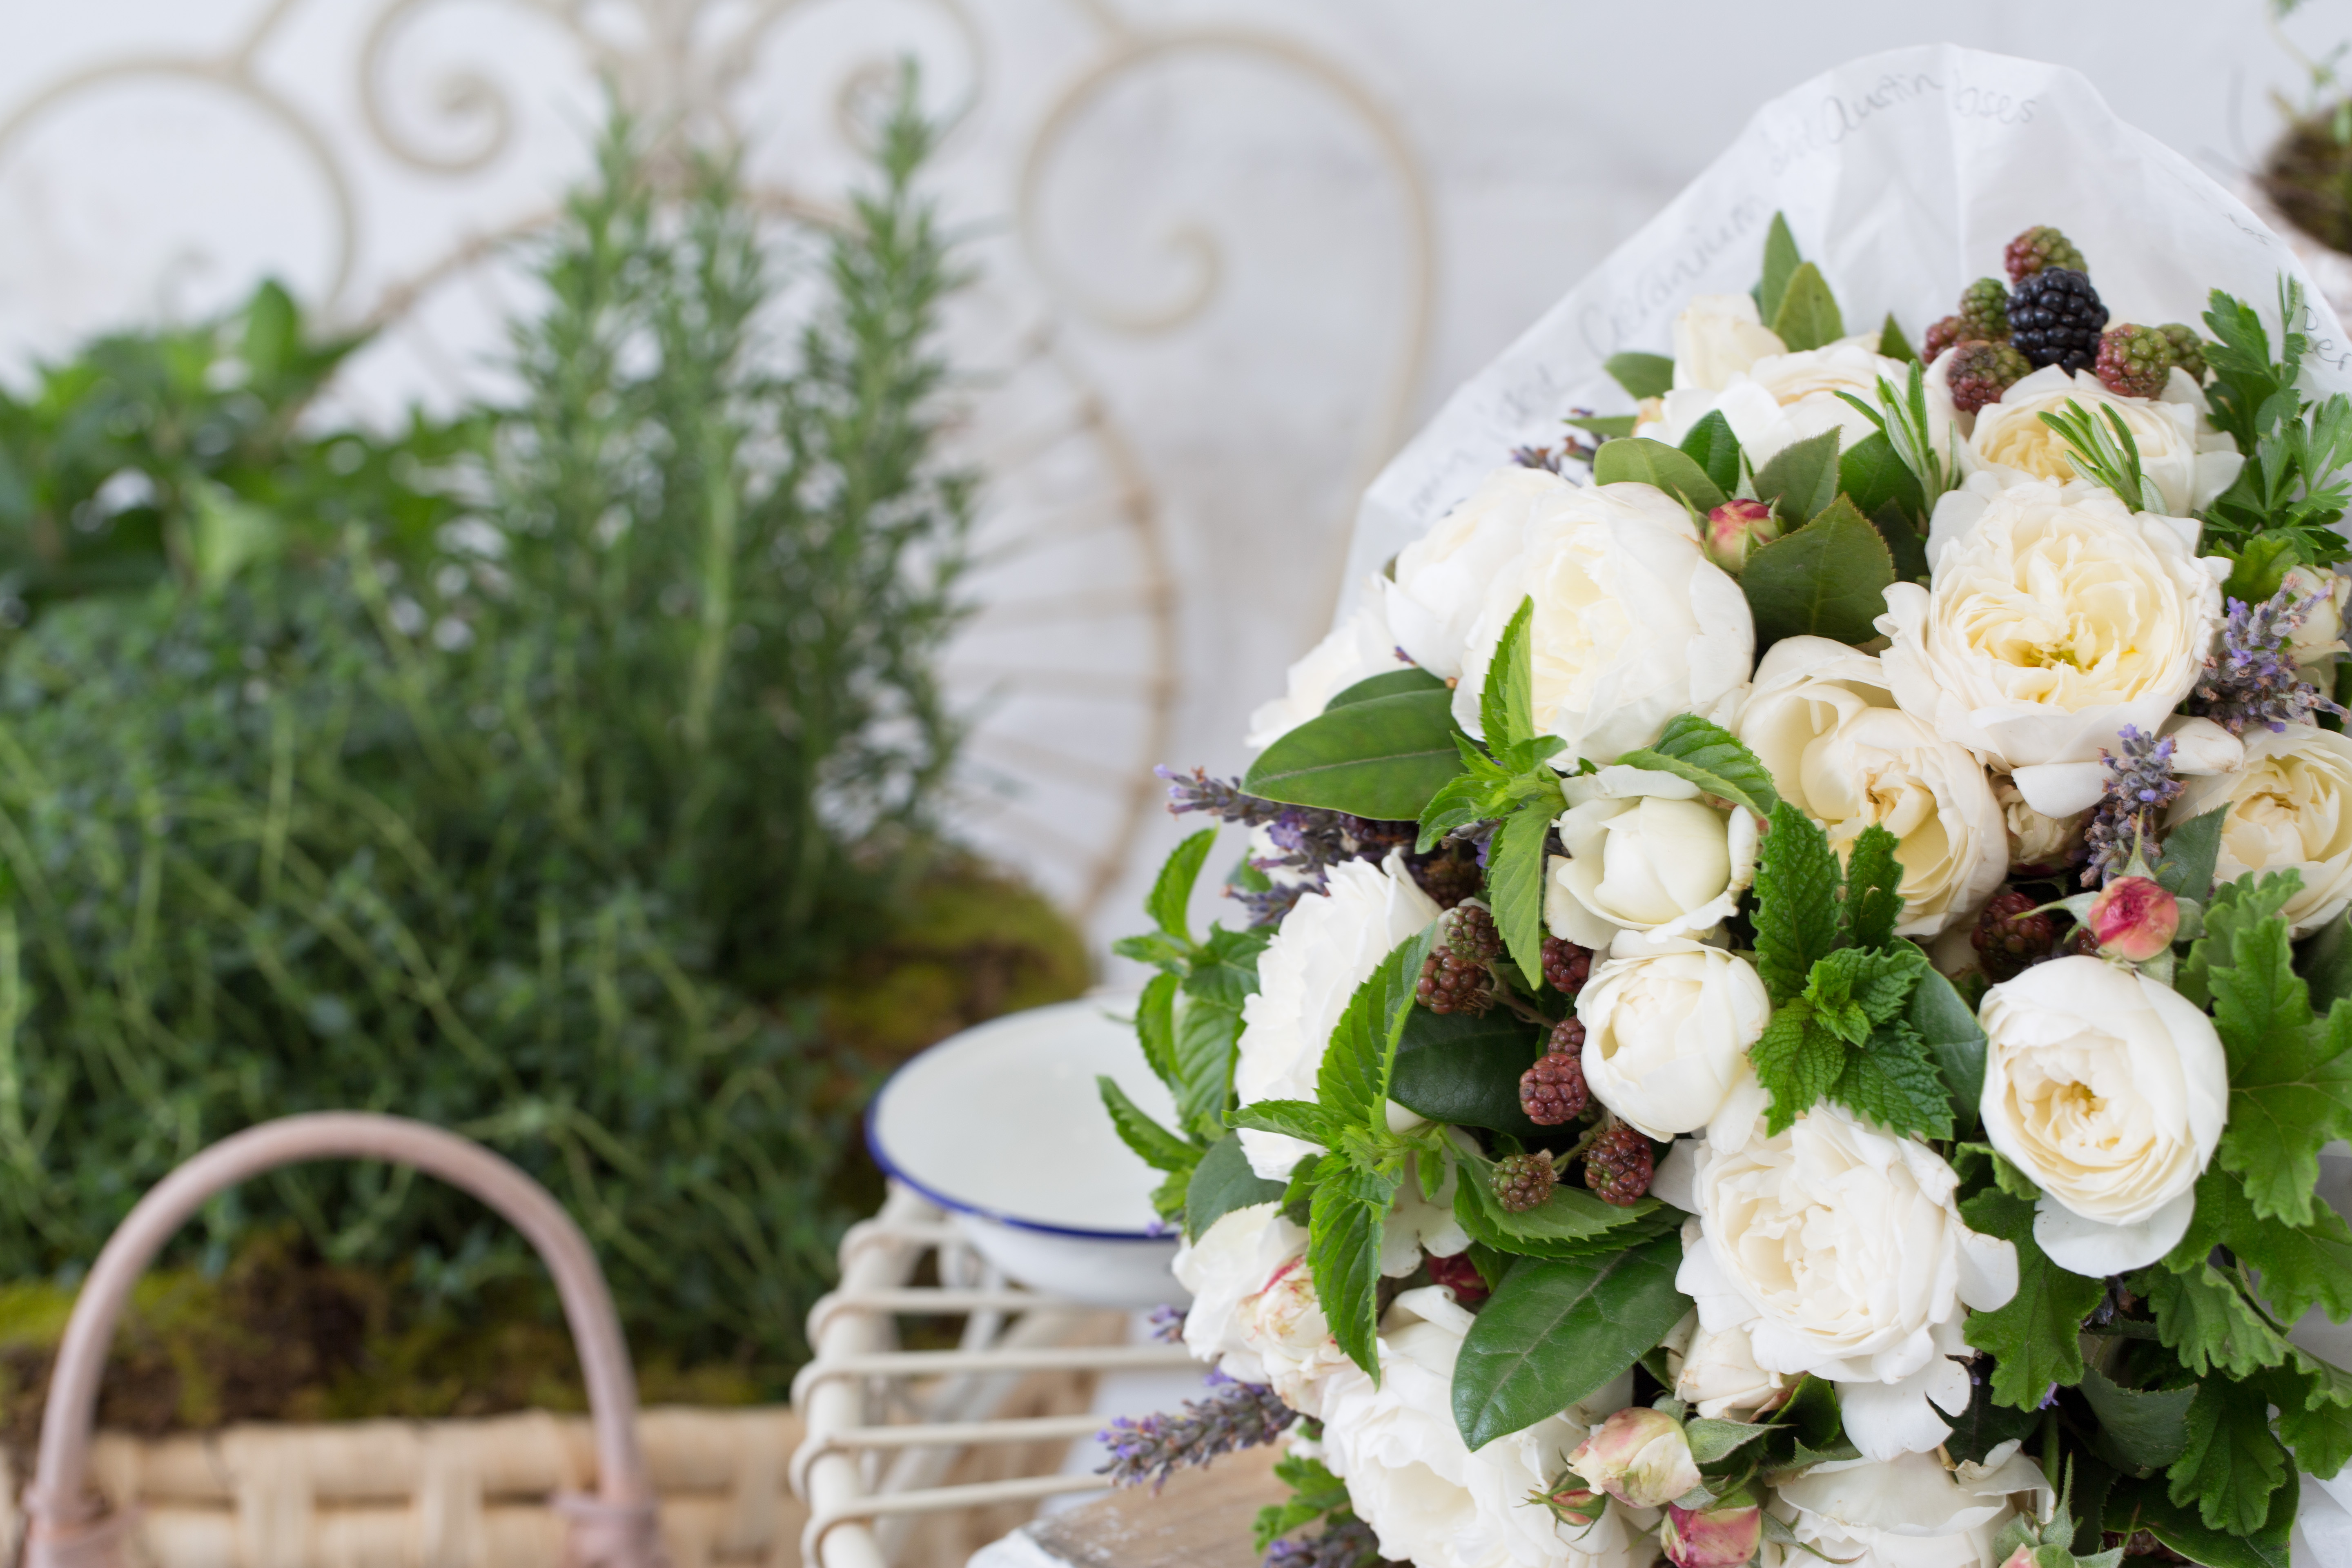
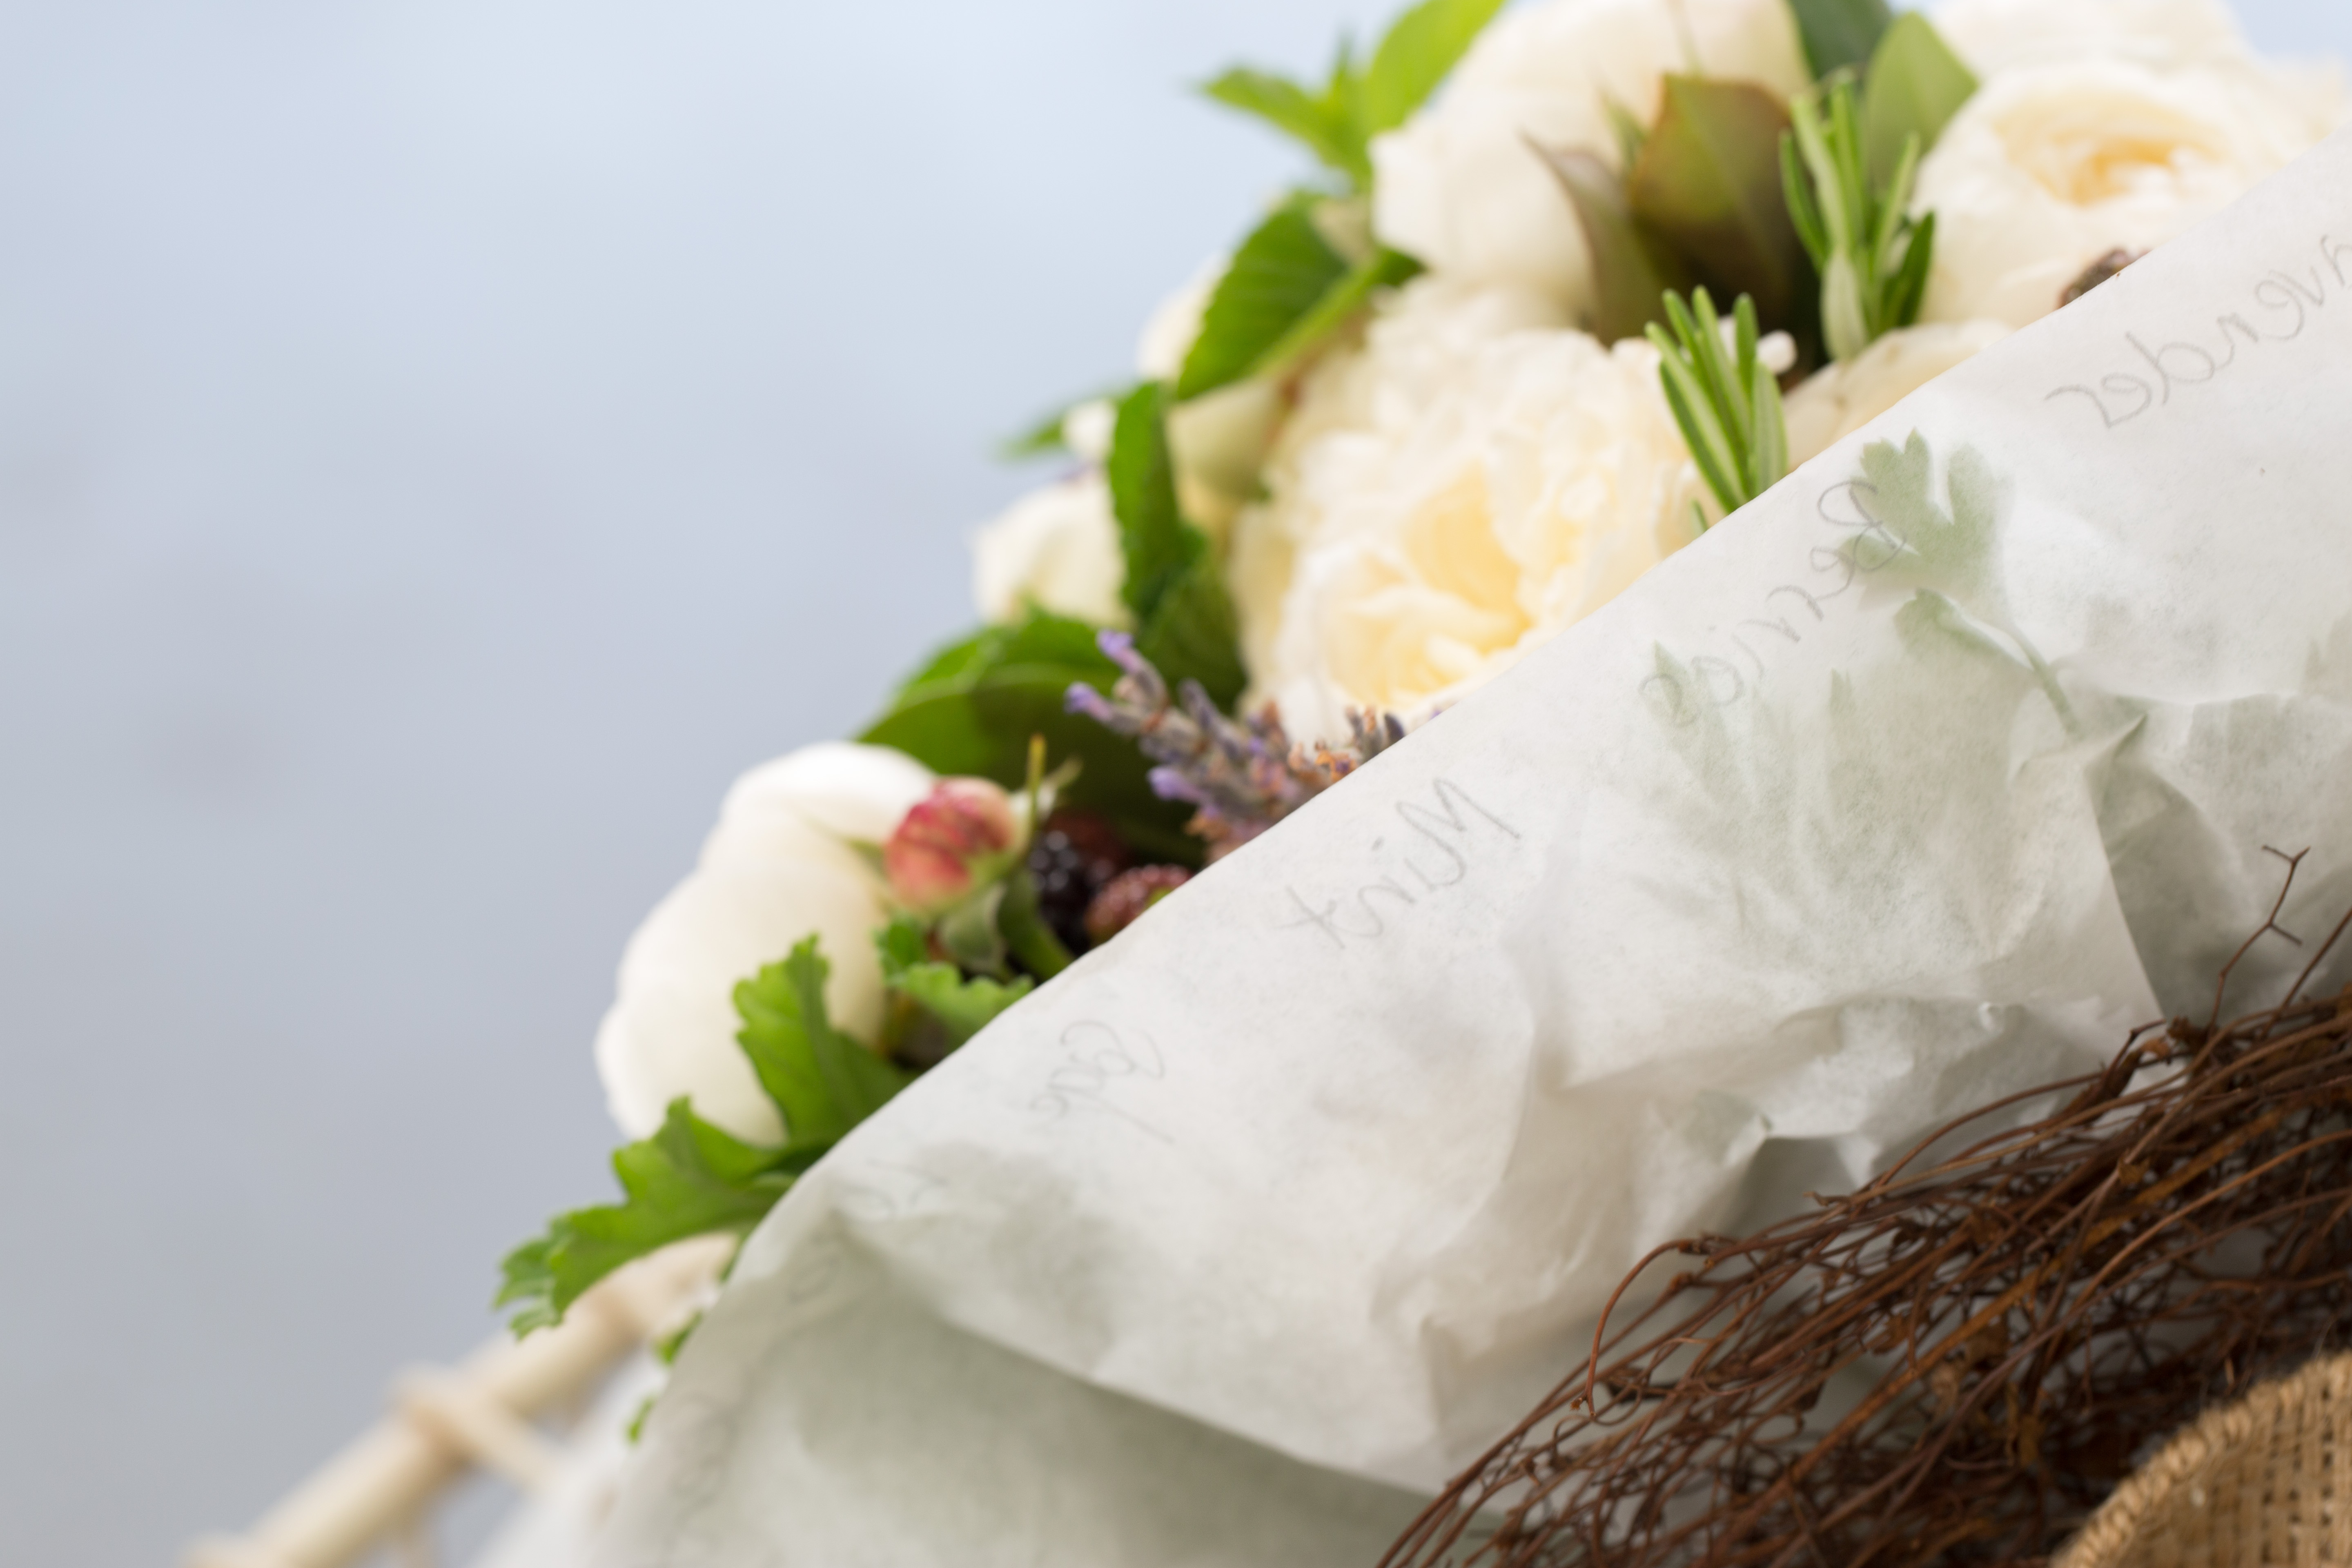
I love creating big bunches of luxe, whimsical, wild blooms and I love playing with different colour and texture combinations.

Instagram: @thistleandtwig_

Email: thistleandtwig@outlook.com

Wired Wedding Posy Bouquet | How to make a Posy Flower Arrangement

Learn how to make a Posy Flower Arrangement with this live demonstration from our Floristry Career Course. Support wires are used to secure the flowers prior to construction, and the methods for a range of different flowers are demonstrated to create this gorgeous Wedding Posy Bouquet.

For more free arrangement videos, join our FREE Budders Club community.


large strauss

Simple Bouquet Arrangement | Hand tied Flower Bouquet Arrangements Tutorial

Did you know Strauss literally means Bouquet in German?

Bloom College founder and floristry teacher Yvette Timmins demonstrates how to create a simple hand tied bouquet, recorded during our Floristry Career Course in Port Melbourne.

For more free arrangement videos, join our FREE Budders Club community.


Make a professional Glass Fish Bowl Terrarium

Filmed Live at our Career Change course in Port Melbourne, learn how a professional florist designs and constructs a Glass Fish Bowl Terrarium.

For more arrangement demos, recipe cards and other flower arranging advice, visit www.bloomonline.com.au

Before you start making this arrangement, be sure to watch the video carefully and consider what materials you want to use to make your own terrarium. There are so many different designs, plants and ornaments that would great in a glass plant terrarium so be creative and experiment!

Fish Bowl Terrarium

Urn Flower Arrangement Demo and Recipe Card

Learn how to design and create a stunning urn flower arrangement for the hobbyist or professional florist, with this demonstration filmed as part of our live training course. You can download the recipe card (including alternate flowers to use) below…

Urn Flower Arrangement

Bouquet flower basics course

Posy bouquets

Posies are one of the most traditional floral arrangements. They have been used since at least medieval times when they were carried to disguise the unpleasant smells of the era. In particular the brides who carried them. Their popularity is timeless, no doubt due to the versatility of their use and the varied materials that can be used to create them.

A herb and rose posy is a perfect last-minute gift or the solution to the situation you find yourself in when you spontaneously want to make something. All the resources required for this arrangement are usually found within neighbourhood homes, gardens or local stores.

Posy DIY recipe

Ingredients:

  • David Austin rose – white, 10 stems
  • Lavender – 1 bunch
  • Lemon scented geranium – 1 bunch
  • Mint – 1 bunch
  • Basil – 1 bunch
  • Rosemary – 1 bunch
  • Berries – 1 bunch
  • Parsley – 1 bunch

Tip-

Use any herbs that are in season: the more you cut your herbs the better they will grow.

Accessories:

  • Baking paper
  • Twine
  • Hessian or similar
  • Birds nest wire frame (optional use as shown in video)

Tools:

  • Basics pack
  • Paper cutting scissors
  • Grey lead pencil
  •  how to make a posy

Construction Steps:

  1. Choose and cut your botanical materials. For this posy, have your stems at approximately 20–25cm. Begin by removing all the lower leaves. Then place each different material into a separate container.
  2. Once all the lower material has been removed, create the posy’s junction point in the web of your left hand (for right-handed people) or right hand (for left-handed people), holding your first finger and thumb as shown in the video. Remember: your thumb is the gatekeeper that allows stems to enter.
  1. Begin with the geranium or, if you have chosen different herbs, use the herb with the strongest stems. One by one, place the stems into the junction area, bringing the foliage of the geranium down close to sit on the top of your hand, as shown in the video on our app.
  1. Set aside 6–8 of your shortest stems of herbs to use after you have added the roses to the posy, and set aside all the lavender and berries.
  2. Add the remaining herbs to the posy. Use your free hand to turn the posy after every couple of additions, as shown in the video. This will help your posy get a nice, round shape.
  1. Take a stem of David Austin rose and place into the centre of the base you have created from your herb stems. Protect rose stems by resting them on the other foliage, held by your thumb, as shown in the video. Do not attempt to place rose stems into the junction point.
  1. Add three berry stems to the posy, making sure they are evenly spaced around the top of the herb base.
  2. Repeat the above step using three rose stems so that berries and roses alternate around the top of the posy.
  1. Disperse the remaining berries evenly throughout the forming posy.
  2. Disperse the remaining roses evenly throughout the forming posy.
  3. Distribute the lavender throughout the posy.
  4. Place the remaining shorter stems of herb foliage evenly around the edge of the posy.
  1. Check that all flower heads are placed evenly. Hold the posy as far from your body as you can and check that you have arrived at an even dome shape.
  2. Once you are pleased with the shape, tie the stems together at the junction point.
  3. Trim all the stems to the same length approximately 10cm from junction point, then place the posy in a vase.
  1. Whilst your posy is having a lovely drink, you can prepare the baking paper for the wrapping. Use about 1m of paper. Write on it, personalise it and frill it as shown in the video.
  1. Add the posy to your wrapping, tie the wrapping, add a birds nest if you want to, and finish off with a square of hessian around the stems to complete your work.

To watch video demonstration on the construction of this posy download the app or join a beginners workshop or course

Posy DIY how toHow to make a posy